Camera-less photography
Photogram

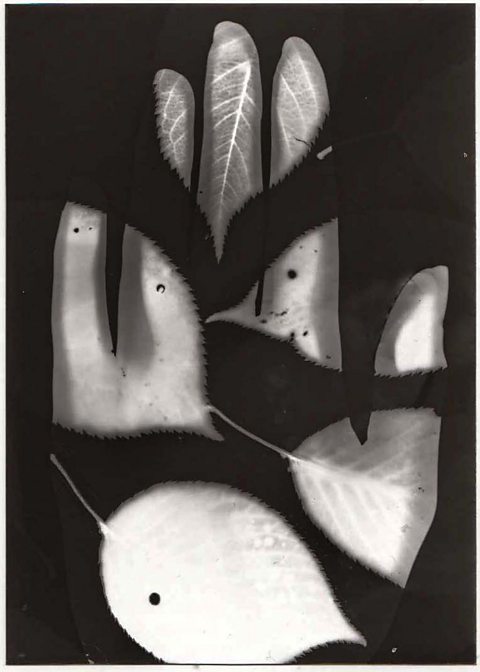
A photogram is a photographic image that is made without a camera. Objects are placed directly onto the surface of a light-sensitive photographic paper and then exposed to light in a darkroom.
The paper is then developed by using light-sensitive chemicals in the darkroom. The result is a negative shadow image that shows variations in tone; the range of tones depending upon the transparency of the objects used.
The shadows or silhouettes are where the objects have prevented light from reaching the surface of the paper. Areas of the paper that have received no light appear white, with areas exposed through transparent or semi-transparent objects appearing grey.
Plan your photogram before you go into the darkroom. Where will you place objects? What objects will you use?
Make sure your photographic paper is the light-sensitive way up.
Experiment using semi-transparent and solid objects to see the different effects.
You could cut out paper An image cut into card or another material that can then be used to make repeated identical images and shapes to use on your photogram.
Cyanotype
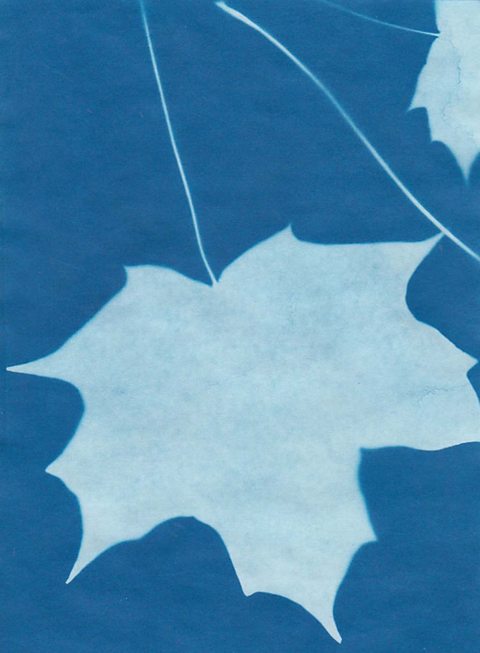
A cyanotype is a photogram that produces a cyan-blue print. You do not use a darkroom to develop the image.
As with a photogram, a cyanotype is made by placing a stencil, A thin sheet of transparent plastic material that can be drawn on or used to make photographic film photocopy of an image, or objects directly onto the surface of a light-sensitive paper/material and then exposing it to UV light, such as sunlight.
This makes a negative shadow image that shows variations in tone depending upon the transparency of the objects used.
Areas of the paper that have received no light appear white and those exposed through transparent or semi-transparent objects appear light blue.
How to make a cyanotype
- Stick a sheet of light-sensitive cyanotype paper to a drawing board (blue side up) and secure with clear tape.
- Place your stencil, acetate or objects on top of the paper. Secure with clear tape if possible. (The tape needs to be clear in order to let the light through.)
- Go outside and expose your paper to strong sunlight until the blue paper turns very pale blue. This should take two to five minutes.
- Remove the acetate, objects or stencil from the paper and soak the print in a tray of water for about one minute.
- Gently tip the tray from side-to-side to agitate the water. The image will sharpen as it dries.
- Place your wet print onto newspaper to dry.
Top tips
- Work quickly - as soon as the paper is exposed to light it will begin to develop.
- Be organised - have everything you need to work with ready.
- Experiment with placing different types of objects onto cyanotype paper – solid and transparent objects will give different results.
- When exposing your cyanotype paper to the sun, do not place in a shadow as it will not develop.
- You can place your cyanotype paper on a window sill to expose to sun light, but it will take a little longer for exposure to occur.
