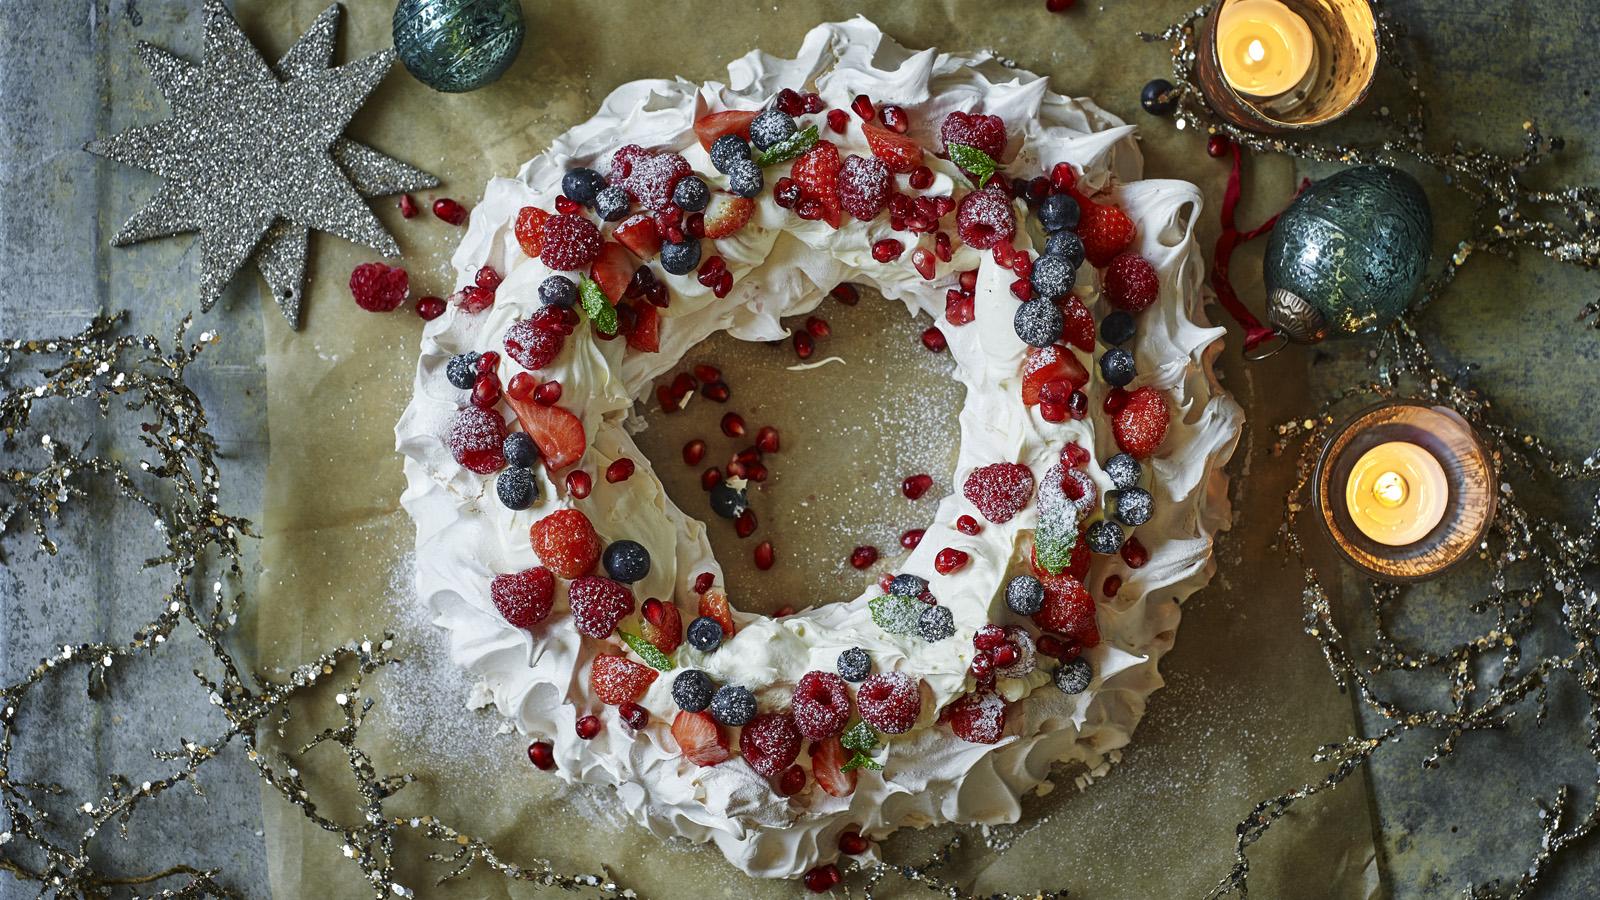
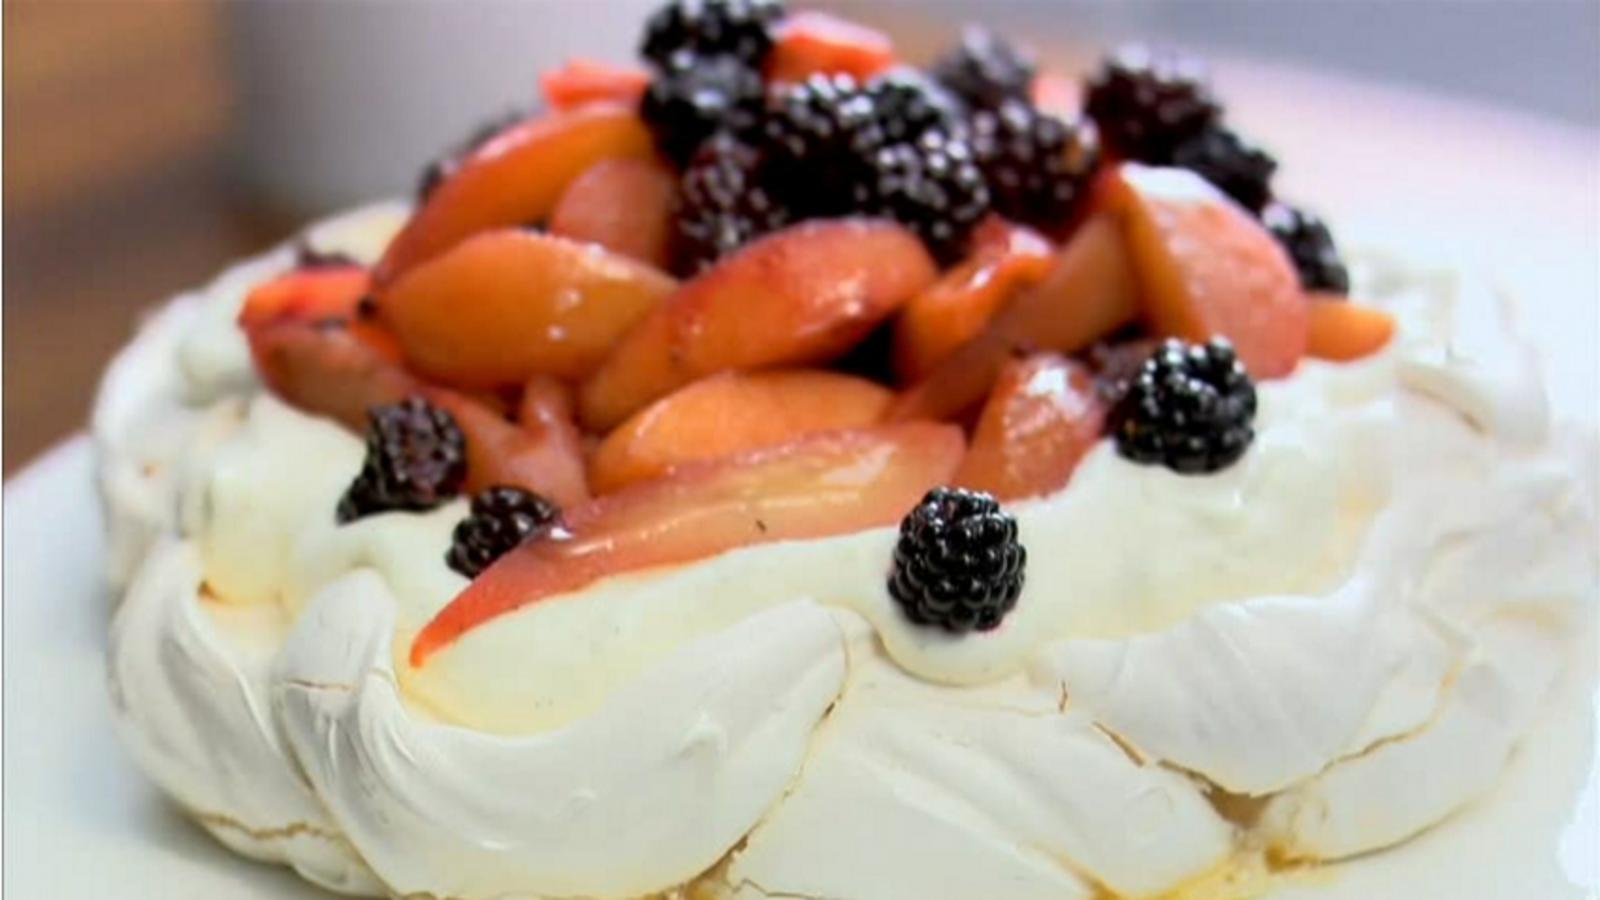
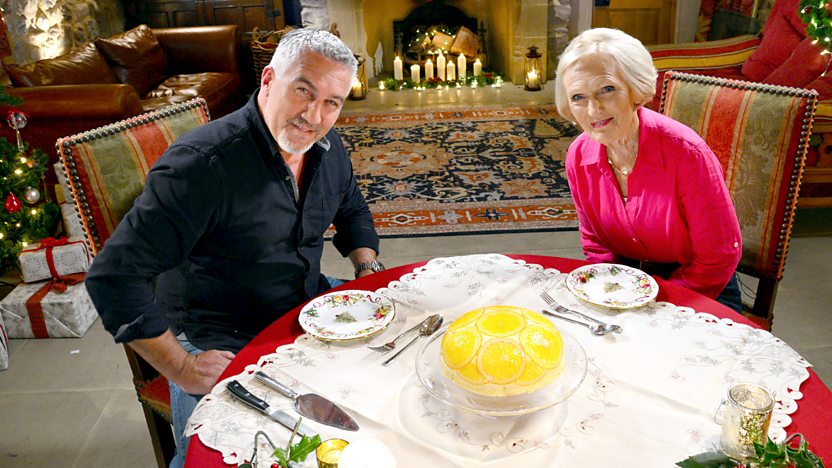
Mary Berry's pavlova
- Prepare
- less than 30 mins
- Cook
- 1 to 2 hours
- Serve
- Serves 12-15
Mary Berry's pavlova is topped with pretty berries, but most fruits work well so feel free to use what's in season. It's a great dessert for Christmas and special occasions because it can be made well ahead.
Ingredients
For the pavlova
- 6 large free-range egg whites
- 350g/12oz caster sugar
- 1 tsp white wine vinegar
- 1 tsp cornflour
For the filling
- 600ml/20fl oz double cream
- 1 tsp vanilla bean paste
- 50g/1¾oz icing sugar, sifted
- 200g/7oz strawberries, hulled and quartered
- 300g/10½oz raspberries
- 200g/7oz blueberries
- 50g/1¾oz pomegranate seeds
- a few mint leaves, to decorate (optional)
- icing sugar, for dusting
Method
Preheat the oven to 160C/140C Fan/Gas 3. Line a large baking tray with baking paper and draw a 30cm/12in circle in the middle of the paper. Draw a 15cm/6in circle in the centre of the larger circle to make a ring.
Put the egg whites in a clean mixing bowl and whisk with an electric whisk until soft peaks form when the whisk is removed. Gradually add the sugar a little at a time, whisking on maximum speed until they are stiff and glossy.
Mix the vinegar and cornflour in a cup until smooth, then fold into the egg whites.
Spoon the meringue onto the ring drawn on the baking paper. Using a large spoon make a shallow trench in the meringue for the cream and fruit to sit in.
Transfer to the oven and immediately reduce the temperature to 140C/120C Fan/Gas 1. Bake for 1 hour–1 hour 15 minutes, until the outside is hard but still white. Turn the oven off and leave the pavlova inside for an hour or overnight to cool and dry.
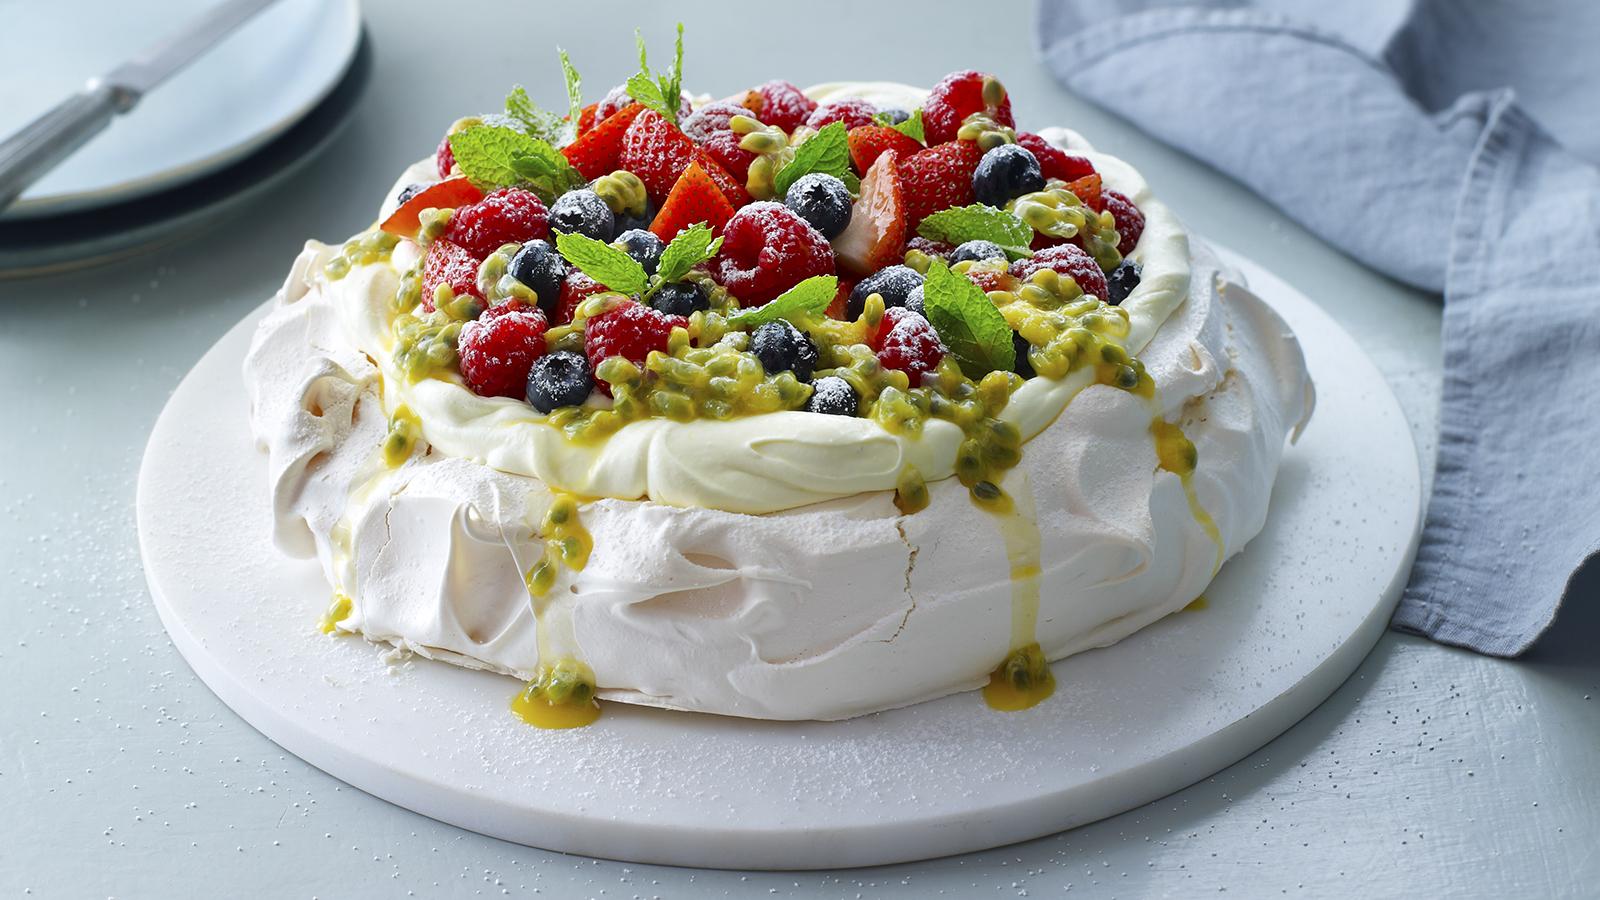
To assemble, whip the cream, vanilla paste and icing sugar until stiff peaks form when the whisk is removed. Spoon the cream into the trench in the meringue. Arrange the strawberries, raspberries, blueberries and pomegranate on top and decorate with a few mint leaves, if using.
To serve, dust with icing sugar and cut into wedges.
Recipe tips
Make sure your egg whites are completely free of any bits of yolk before you whisk or they won’t be able to incorporate enough air. If you see any yolk in the bowl, use a clean teaspoon to remove it. Try not to over whisk your egg whites. They are ready for the sugar when you can turn the mixing bowl upside down without them sliding out.
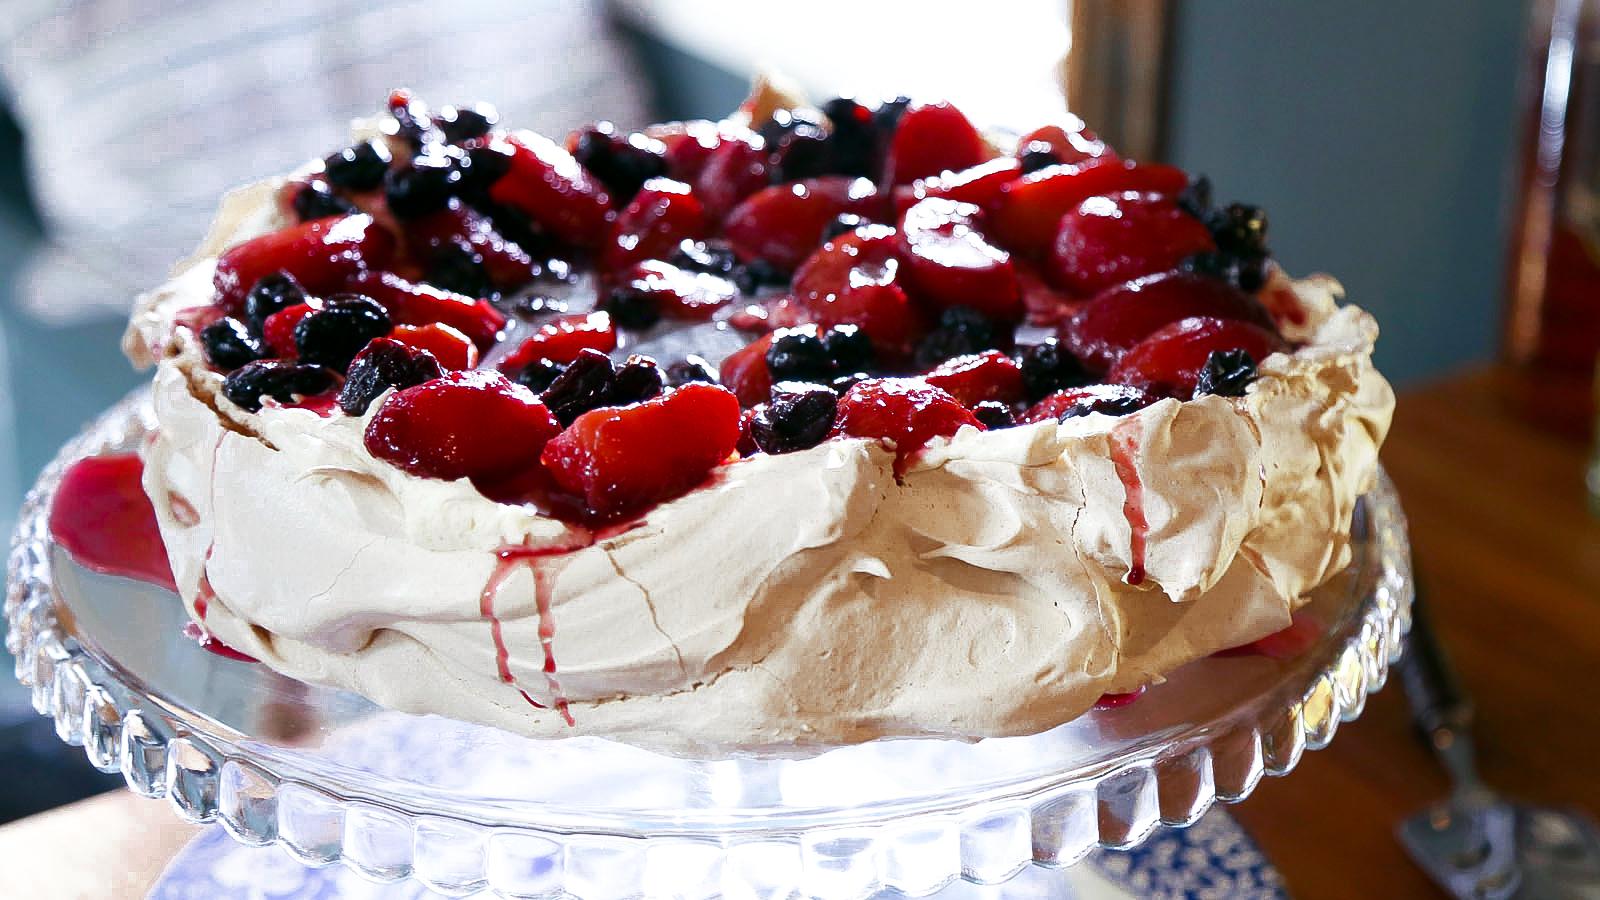
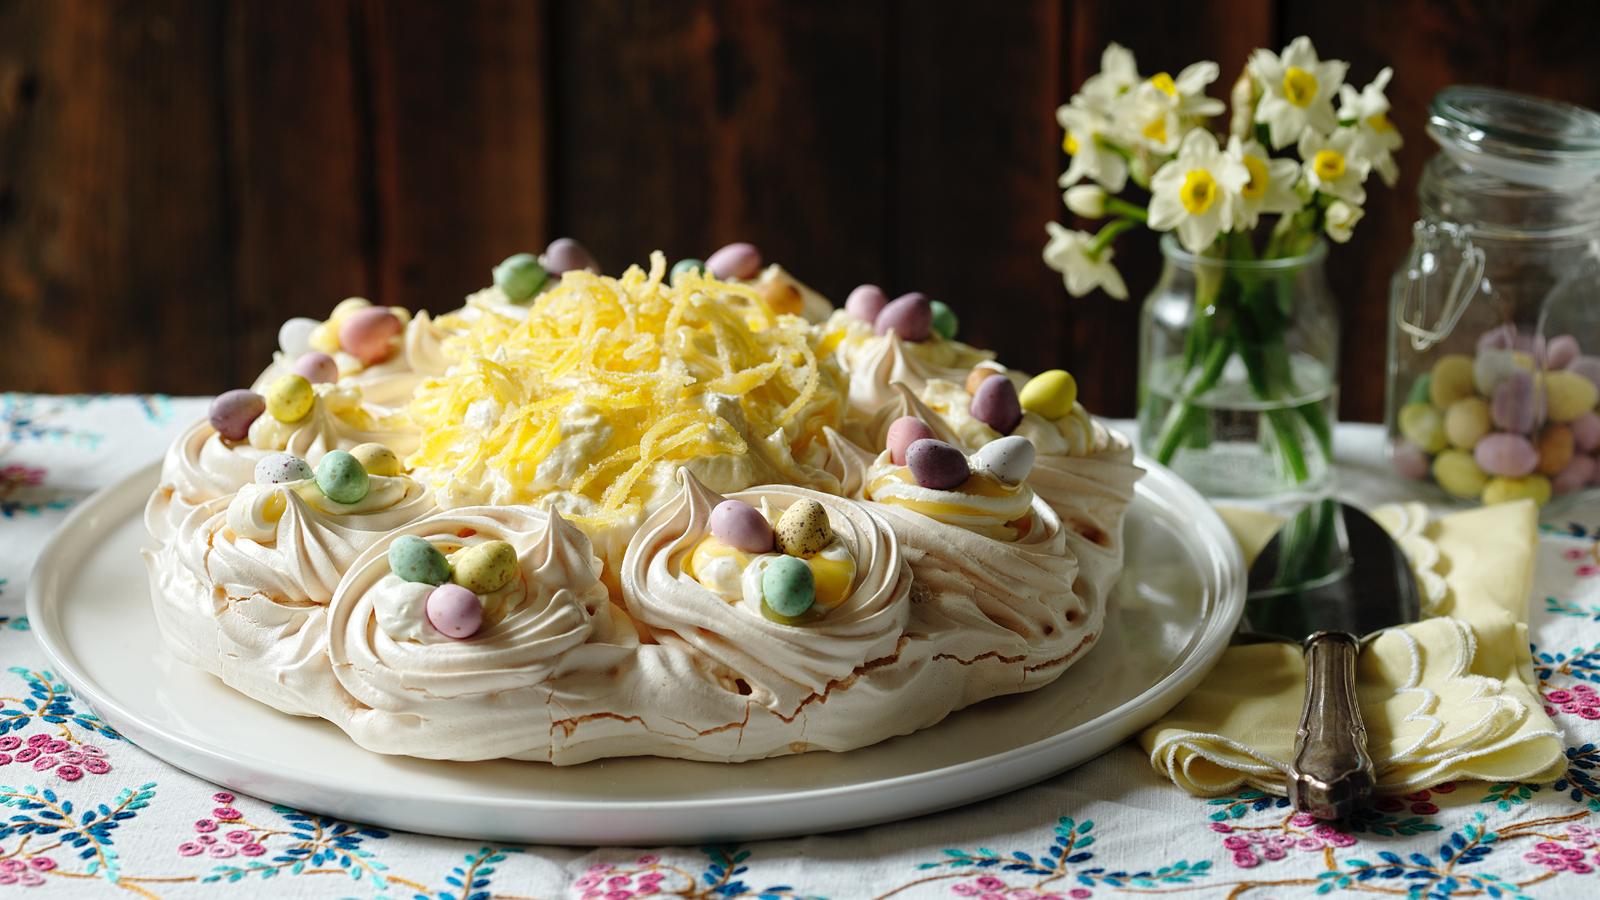
To make your wreath look like the one in the photograph, keep some of the berries aside in a pretty bowl and serve with the pavlova rather than sprinkling on top. If you want to mix things up or can't get hold of decent berries, alternative toppings include lemon curd and toasted nuts, spiced plums or stewed rhubarb. Ideally you want something a little tart to balance the sweetness of the meringue and richness of the cream.
You’ll need a very large platter, board or cake stand to serve the pavlova – it will expand a little in the oven, so you’ll need something around 32cm/13in diameter. A cake board would work and can be covered with foil first, which means it could be used again. You could also cover a chopping board or baking tray with foil or white baking paper if you get really stuck.
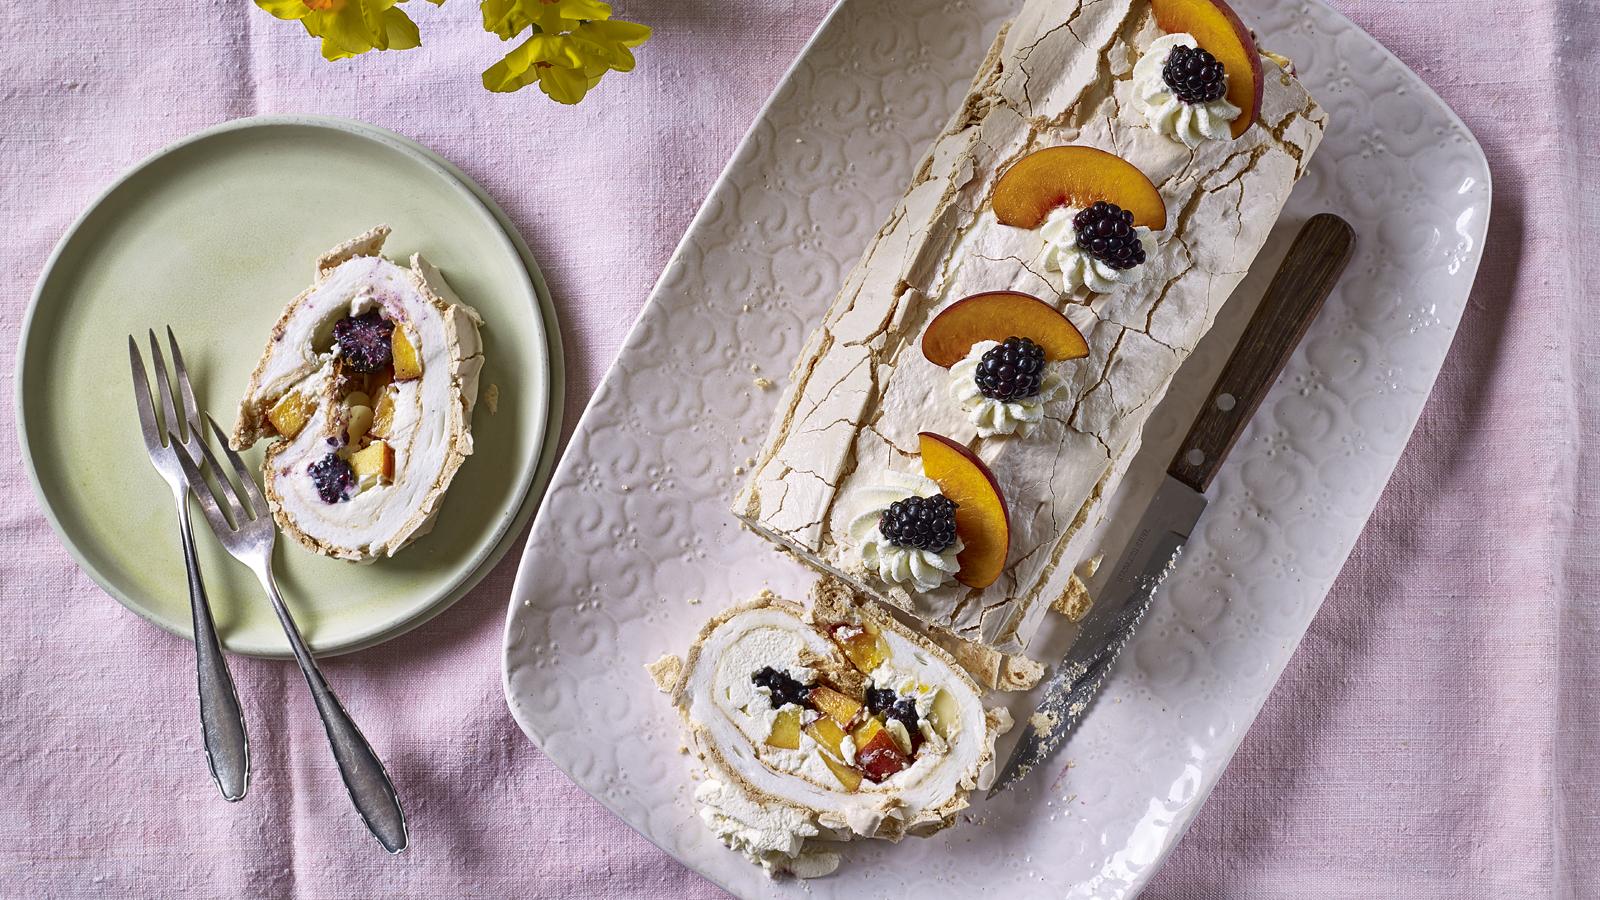
This recipe makes a very large pavlova, but you can make two smaller meringues instead if you like. Or make mini wreaths and serve individual pavlovas. If making mini wreaths, it’s easier to pipe the meringue into circles onto two large baking trays lined with baking paper. Bake one tray above the other, leaving plenty of room between the trays to allow the warm air to circulate – and swap the trays over halfway through the cooking time. If cooking meringues on two shelves, you will probably need to increase the cooking time by around 30 minutes.
Make sure you use non-stick baking paper rather than traditional greaseproof paper, otherwise the meringue will stick. Turn the paper over once you have drawn the circles – you will still be able to see where they are marked and it will prevent your ink or pencil lines leaching into the meringue. Fix the paper to the baking tray by brushing the tray with a little oil or dabbing with a little of the meringue before lining.
When drawing the circles on the baking paper first measure items in your kitchen that you can use as a template (and save you digging out a compass). Round chopping boards are typically 30cm/12in in diameter and cereal bowls often have a 15cm/6in diameter.
If you don’t have a very large baking tray to cook the pavlova on, you could turn a large roasting tin, or grill pan upside down and line the underside with the baking paper instead.
Leftovers can be kept in the fridge for a couple of days, but the meringue will soften during this time, so the pavlova is best eaten soon after assembling.
How to make-ahead
The pavlova base can be made up to 1 month ahead and stored in an airtight box or a re-usable plastic bag that is well-sealed (it is vulnerable to humidity). You’ll need to check the pavlova is fully cooked and dry throughout, so if in doubt, bake for an extra 30–60 minutes, switch off the oven and leave overnight. To check it is dry, pierce gently through to the middle with a narrow skewer (taking care not to crack the meringue) – it should come out dry and not sticky. Top with cream and your choice of fruit just before serving.
Related recipes


This recipe is from...
Recipes from this episode
Try as part of this menu
Boxing Day buffet menu. Menu Boxing Day buffet menu
With a little advance prep, this impressive Boxing Day spread is mostly assembly jobs using up some of those core leftovers. Freeze the quiche pastry case and scones, and make the pavlova base and cheese biscuits ahead.
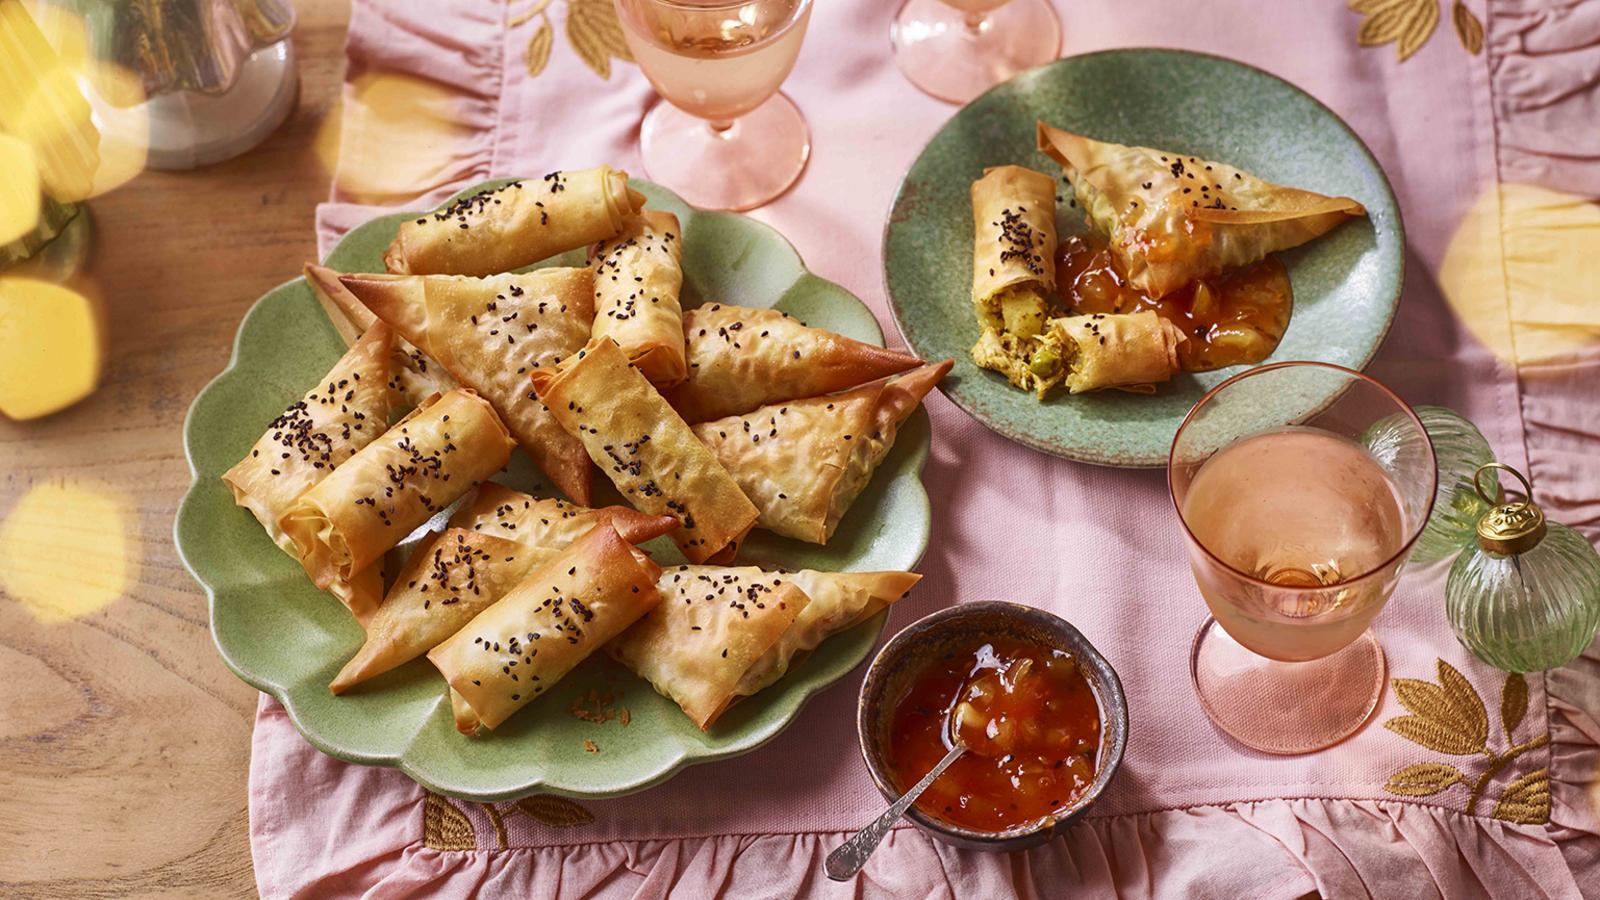
Christmas Stilton and sage canapés. By Mary Berry
Starters & nibbles

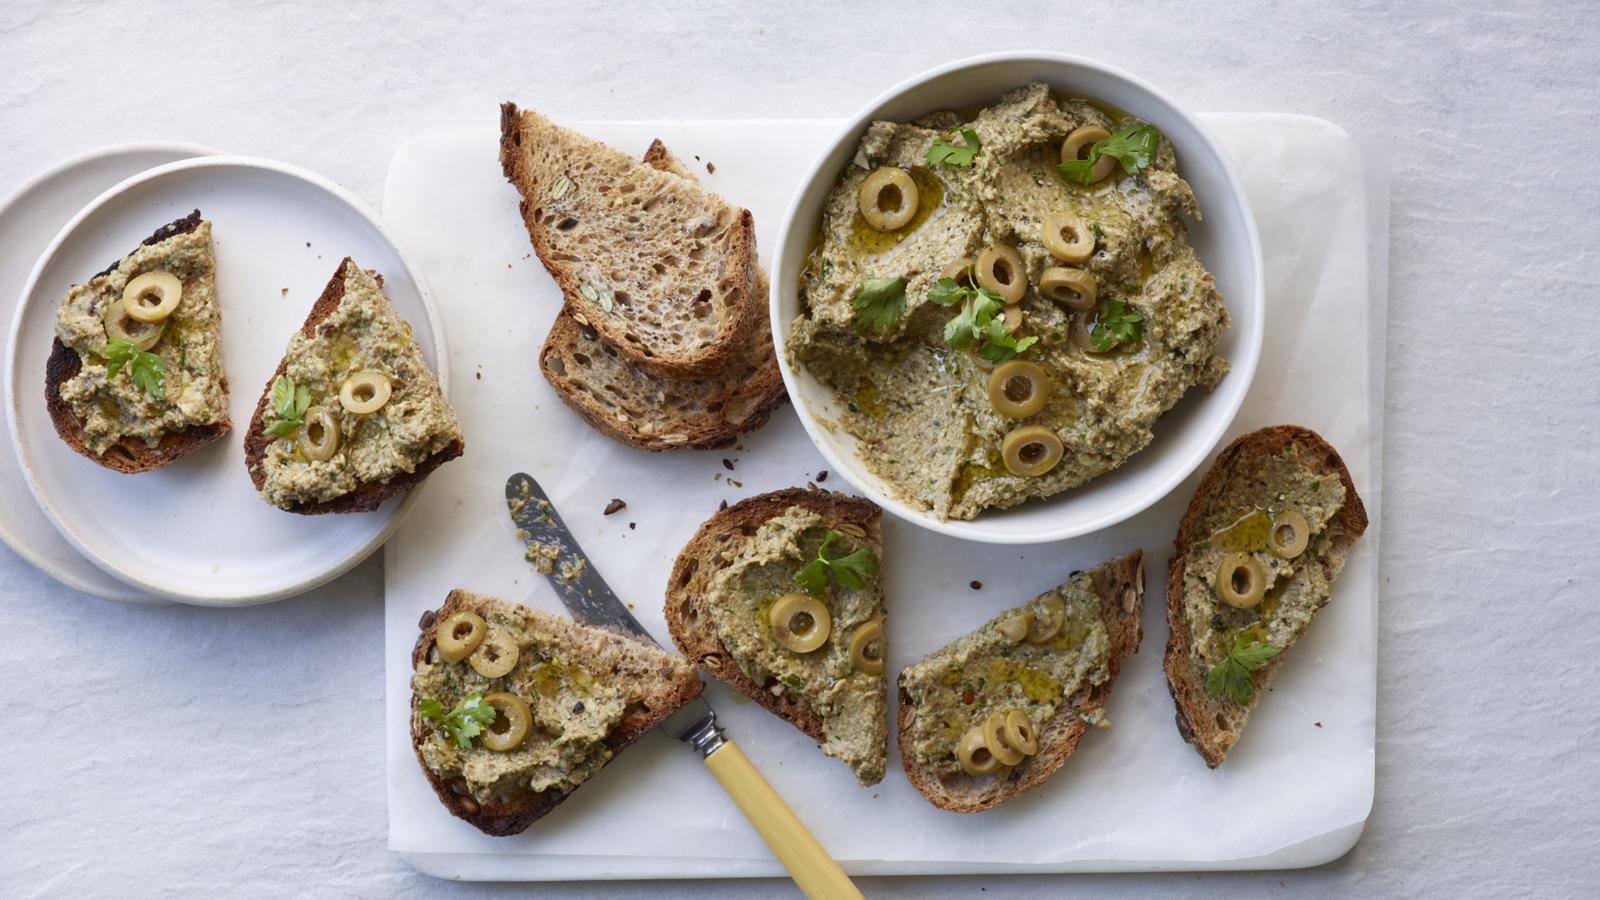
Mushroom pâté By Roxy Pope and Ben Pook
Starters & nibbles
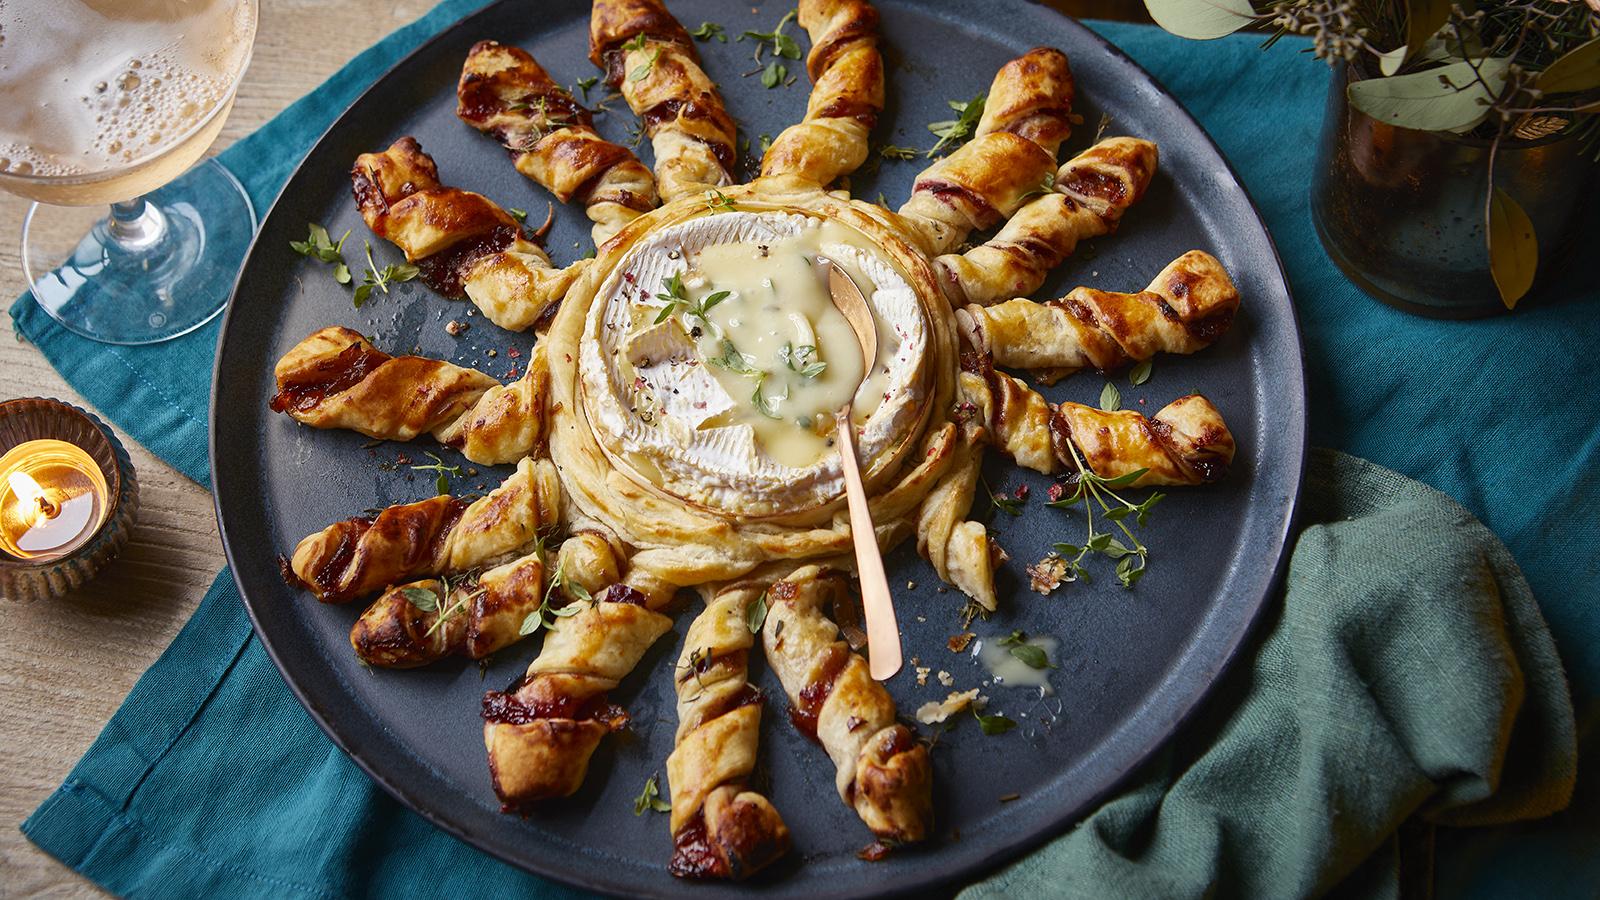
Tarte soleil. By Rosie Reynolds
Light meals & snacks

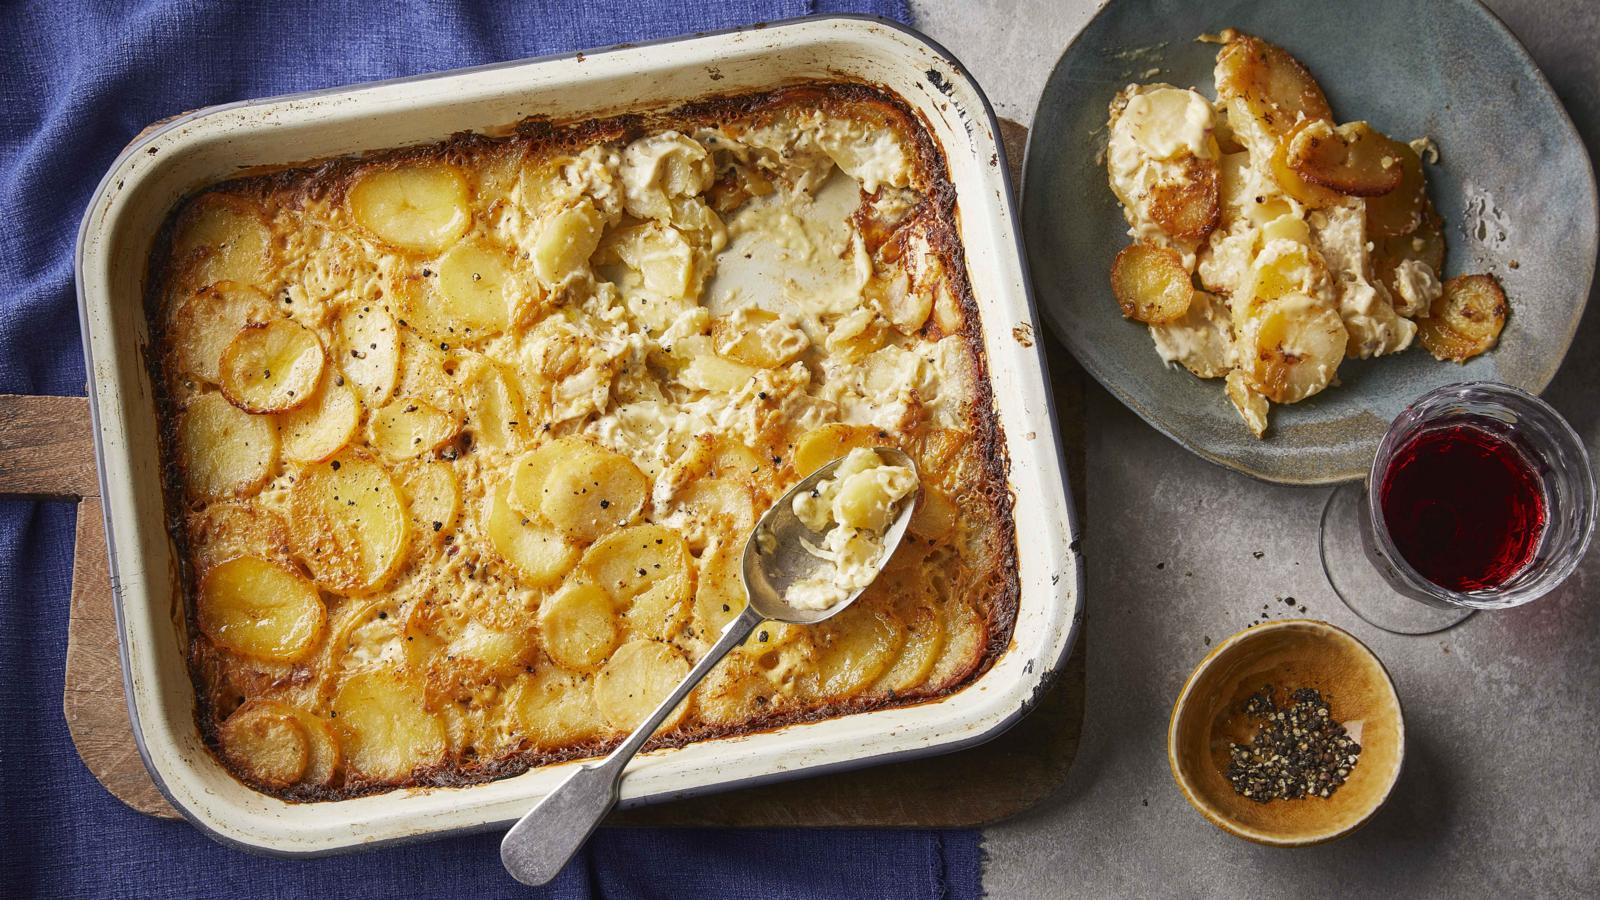
Easy potatoes dauphinoise. By Poppy O'Toole
Side dishes
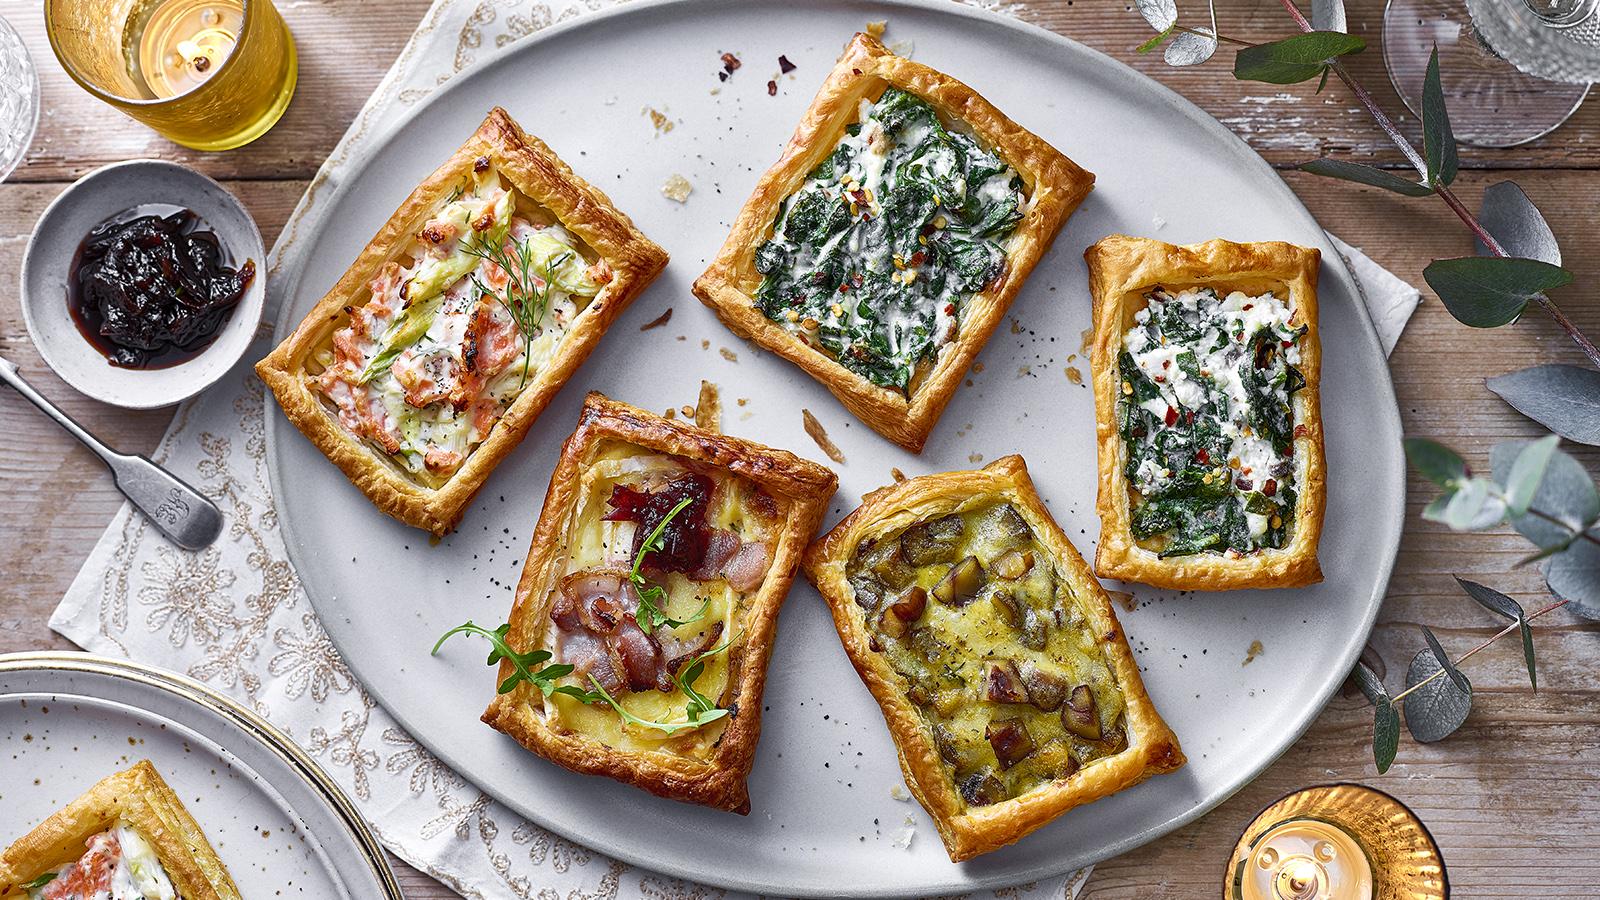
Puff pastry savoury tarts By Philippa Davis
Main course
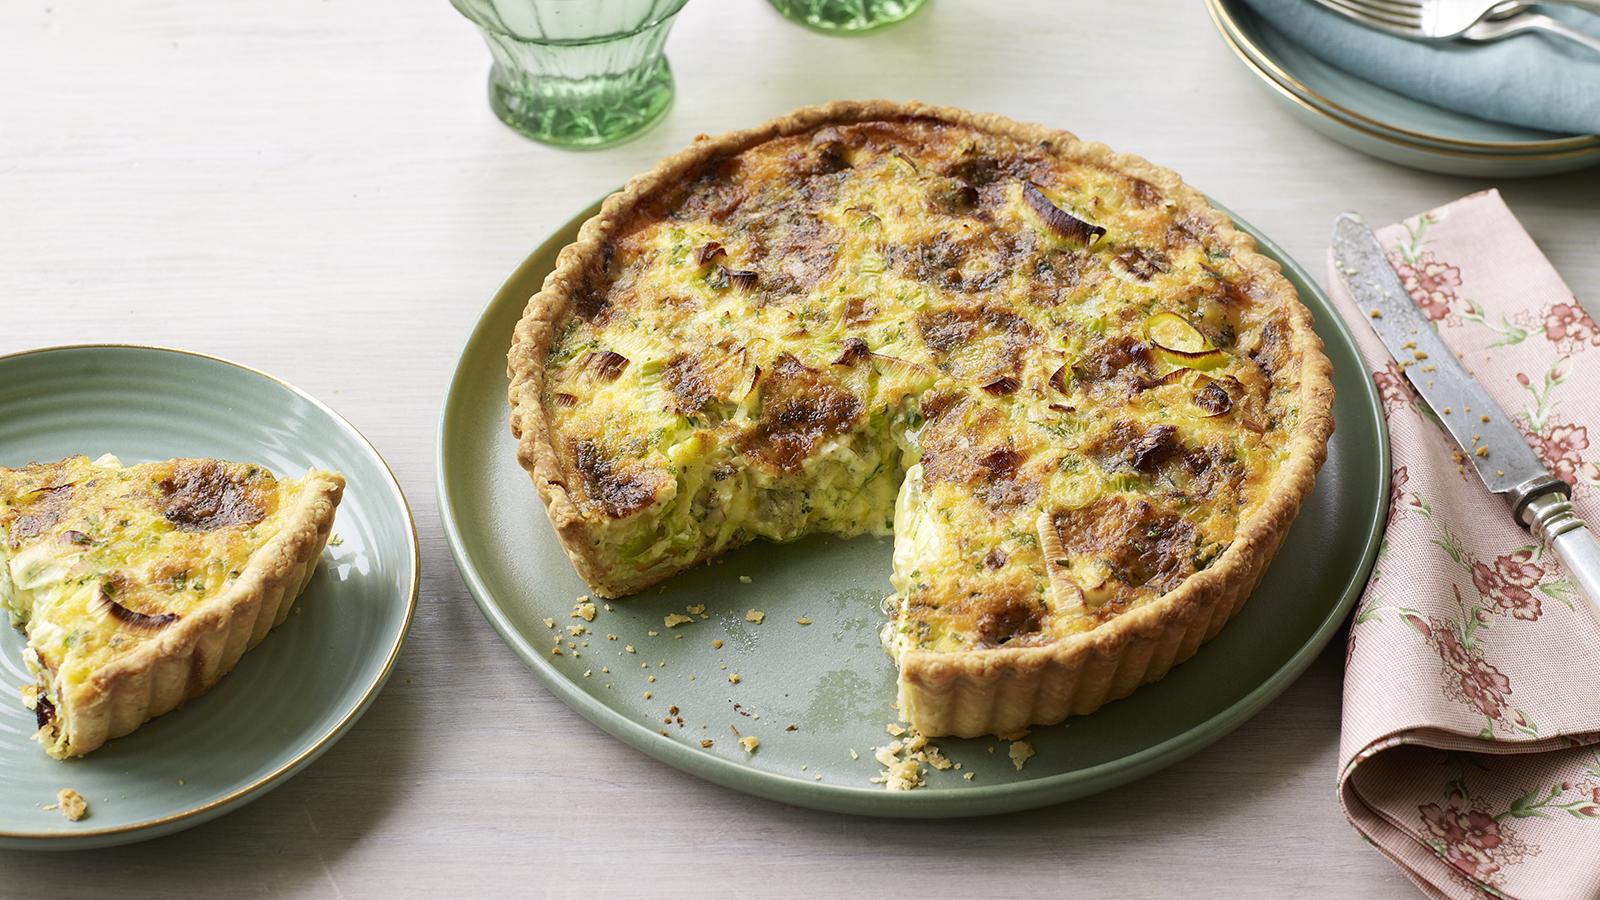
Leek and Stilton quiche. By Mary Berry
Main course
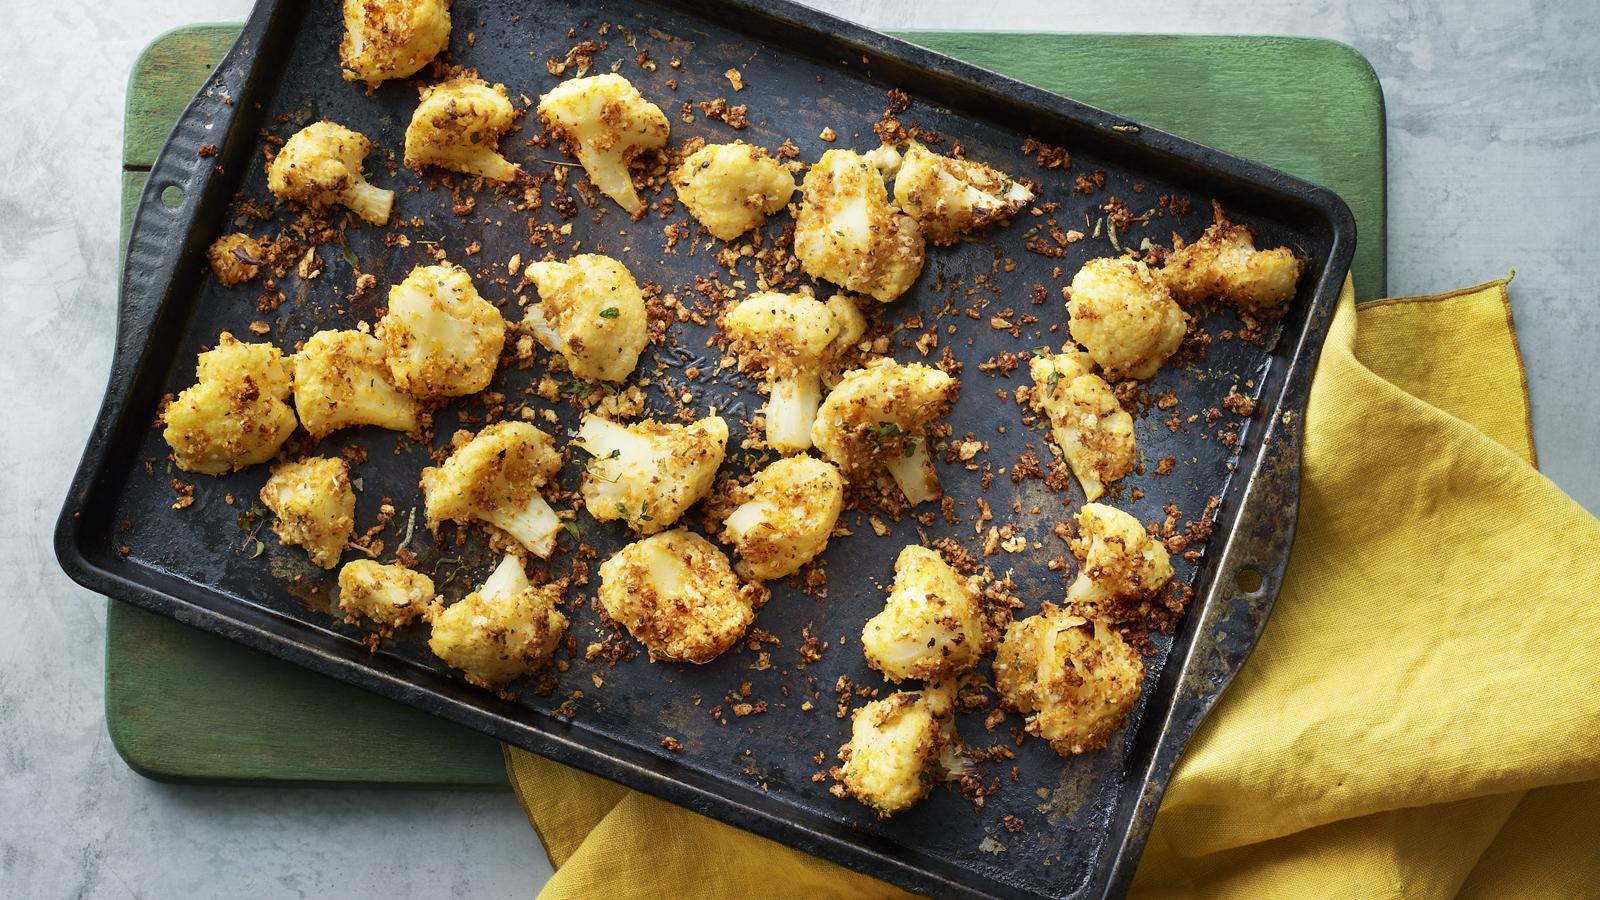
Cauliflower ‘popcorn’ By Annie Rigg
Starters & nibbles
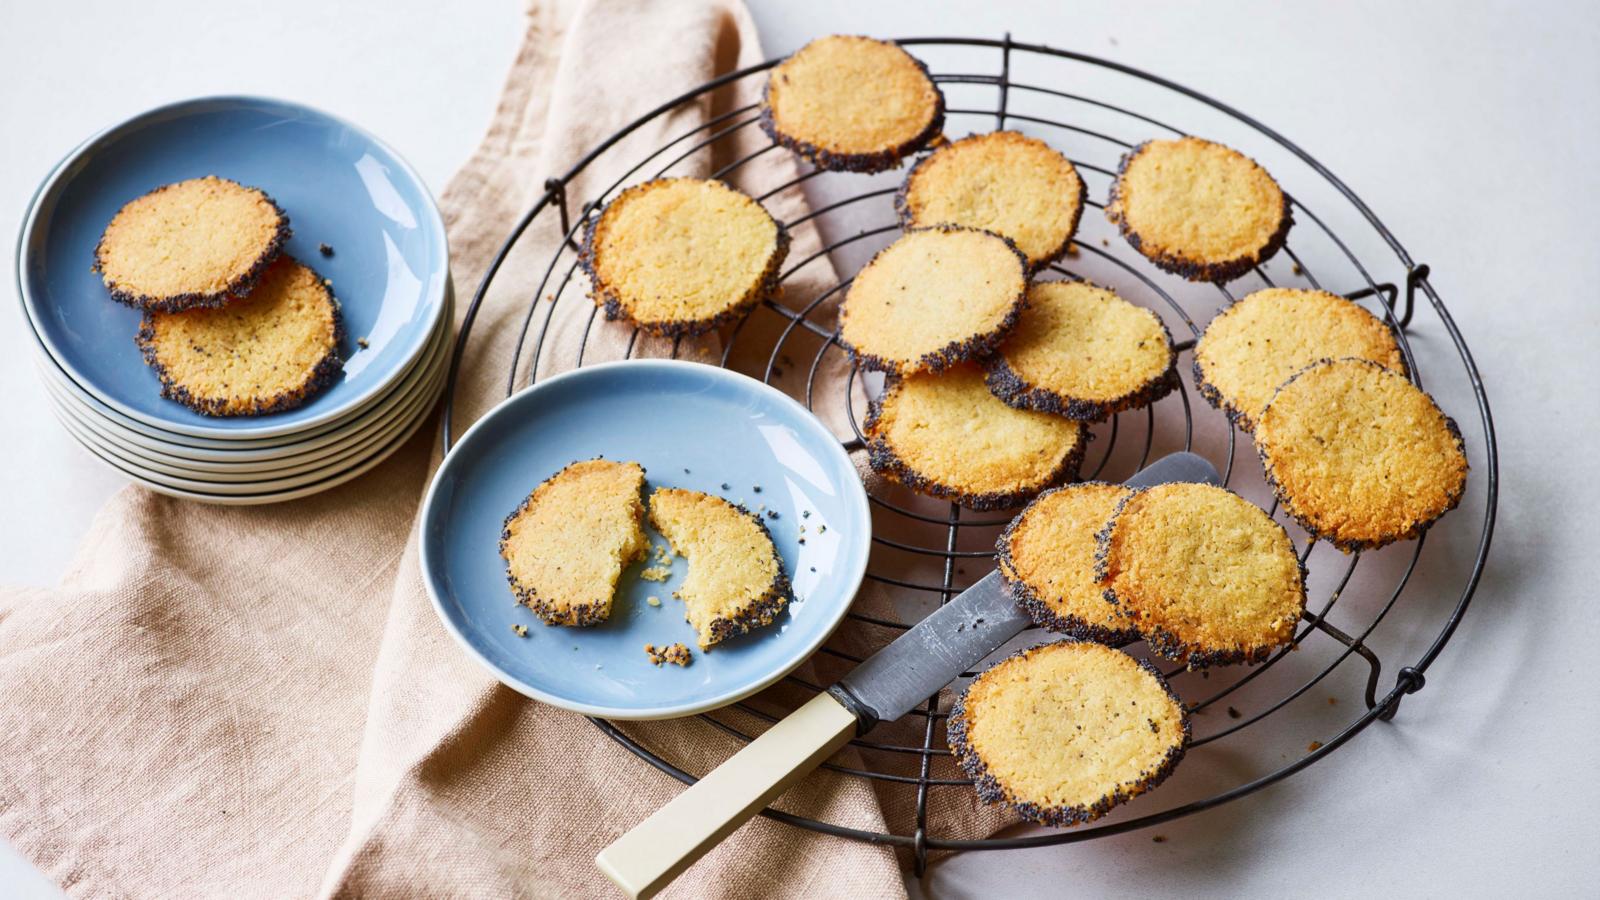
Melt-in-the-mouth walnut and cheese biscuits. By Mary Berry
Starters & nibbles