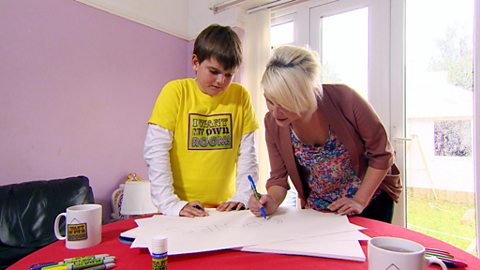
Whenever you start a design project,it's useful to draw outa plan of what you want to achieve.That way you can see what you'llneed and also alert youto any problems that might come upduring the design process.
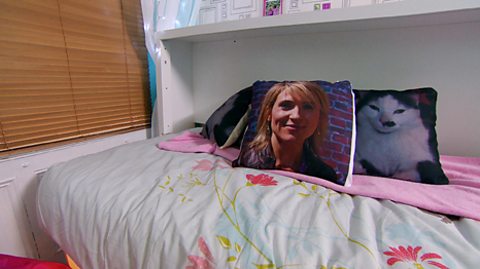
I was recently askedto redesign a bedroom.This is a three-dimensional planof what I wanted to achieve.I've decided to have two wardrobeseither side of the windowand a bed at the opposite wall.
The good thing about a 3D planis that it not only gives youa sense of the height and the widthof the room,which are two dimensions,but also the depth of the room,which is the third dimension.I created this view on the computerbut you can drawthis type of 3D plan.All you need is a pencil or a pen,a ruler and some paper.
The 3D room is based on perspectiveand perspective is basedon a vanishing point and a horizon.A straight line acrossthe middle of the page.Then you draw a line straightdown to the middle.That middle point there is whatwe call a vanishing point.If I draw two diagonal lines,equally spaced apart that meetat the vanishing point,it gives it the senseof going into the distance.This vanishing pointand these perspective lines will bethe basis of our 3D room.So, keeping the vanishing pointin the centre at all times,draw these lines up to make a squarewhich is the front of my room.These are the wallsand the floor and the ceiling.
Now, to make the back wall,I need to do a small square,keeping the vanishing pointin the centre.The perspective lines are there asyour guide, so always draw to them.
The first thing I'm goingto put in is the door,which is on the rightat the front of the room.The door frame appears straight,as it isthe same distance at the top fromthe wall as it is at the base.Now, in order to makeit in perspective,I'm going to draw the top of thedoor towards the vanishing point.Then draw it straight down parallelwith the other line.This is what gives it the 3D look.
Next, I'm going to addthe wardrobes to my plan.To draw the wardrobes,I want them to come outa little bit from the wallbecause they've got a bit of depth.And finish the frontof the wardrobe.Now, to put it in perspective,I'm going to drawthe side of my wardrobe leading backto my vanishing point again.So I line up this edge withthe vanishing point, I can drawa little line to the back wallwhere I want the wardrobe to sit.And again with the top.Now, if I join these two lines,that creates a 3D effecton the wardrobe.
I'm now going to do the wardrobeon the other sidewhich is the exact oppositeof what we've just done.That gives me two 3D wardrobes goingstraight to my vanishing point.
Now, to draw the bed at the frontof the room is exactly the same.Draw the front of the bedparallel with the front wall.I'm joining the side withmy vanishing point to create depth.And again on the other side.And join these two lines.This gives me a 3D bedat the front of the room.3D wardrobes at the backof the room.
It doesn't always have to bea 3D room.A lot of designersuse what's called a plan,which is a bird's-eye view,as if you're flying overand looking at the room from above.
We are going to draw what we can seewhich is the square of the floor.My door was on this side.To do that, I'm just going to drawa little box that showswhere my door is from aboveso you can just see the frame.It opens this way.I need to draw the wardrobesand I'm seeing them from aboveso I'm only drawing the top,so if I draw a rectangle here.All I can see hereis the top of the wardrobe.Then on the other side, the same.Now, I had a bed at the front of theroom so this would be over here.I'm going to draw the bedfrom above.Again, just a little bitaway from the wall.That's the floor planand the 3D roomand you can usewhichever suits you best.
Video summary
Becci Sharkey shows you how to draw a 3D room plan and an overhead floor plan, using the example of a bedroom with simple furniture.
She explains that when drawing a 3D room, the first steps are to draw the horizon, the vanishing point and the perspective lines.
This short film is from the BBC series, I Want to Design.
Teacher Notes
This short film could be used as part of work on Computer Aided Design, where pupils can design their own bedroom or room in their ideal home, adding specific 3D items to scale.
Pupils could draw their classroom using this short film to assist, firstly having a go at the bedroom that the presenter has drawn, then moving on to their own room.
This short film will be relevant for teaching primary design & technology and art & design.
Designing and making cushion covers. video
Two girls are shown how to make personalised cushion covers from specially printed fabric.
Designing a logo. video
A young entrepreneur is shown how to create and design his own company logo.
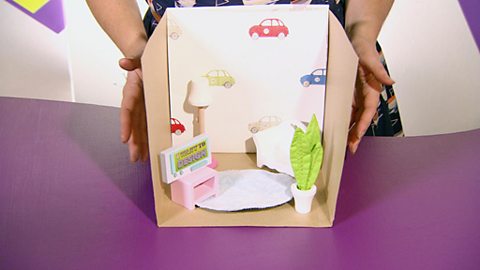
Making a 3D model of a room. video
This short film for primary schools offers a step-by-step guide to making a 3D room out of card.
Making a design box. video
A look inside a 'design box', which is made up of different tools for craft and design.

Making masks. video
This short film for primary schools offers step-by-step instructions demonstrating how to make a face mask.

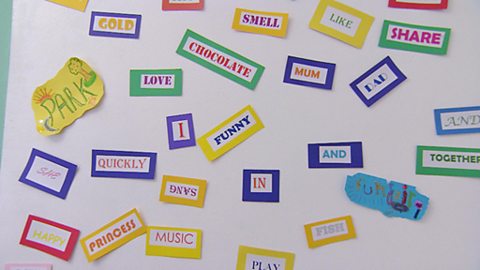
Making simple fridge magnets. video
Step-by-step instructions on how to design and make your own fridge magnets.
Sewing a mobile phone cover. video
A beginners guide to sewing by hand with instructions on how to make a mobile phone cover.
Making a paper collage. video
An introduction to making a collage using printed black and white pictures.

