Presenter:
Sometimes when designing a room it's hard to imagine what it'll look like when it's finished. How do you know if the furniture will fit or where's the best place to put it? So the solution is to make a three dimensional model, a miniature version of the room so you can test out different colour schemes and work out the best place to put the furniture. Now making a threea dimensional model is relatively easy, all you need is a piece a card, a pencil, a ruler, a protractor, a pair of scissors, masking tape and some glue. I'm going to make three walls and a floor so it makes it easy to look in and move things around, so to do that I need to make three equal squares in a line for the walls and one square underneath for the floor. So using my ruler I'mgonna draw my walls. So cos my piece of card is quite big I'm gonna do 20 centimetre squares.
Presenter:
A straight line, 20 centimetres. So I've got three definite walls. So now I'm gonna measure 20 centimetres down to make true square.
Presenter:
And then join them all up along the bottom to make three adjoining squares.
Presenter:
Okay so the floor goes right in the middle here. So what all do here, is this line down here, I just add another 20 centimetres along the bottom.
Presenter:
And then join that to make the square.
Presenter:
So now I've got what designers call a net which is a flat plan of our three-D model. Now in order for this to stay together when we cut it out we'll need to do what designers do which is make tabs, and they're little flaps that come out on each side of this side which allow it to stick together. In order to make the tabs work we need to make the corners at 45 degrees, so what you'llneed is a protractor and you'll measure a 45 degree angle on this corner here. Which is here.
Presenter:
And then draw a straight line from that corner to where I've marked.
Presenter:
So now we've got our tabs we're ready to cut out. So make sure that you're just cutting on the outside line and not cutting into the model because that will it weak and it will fall apart, so just the outside line.
Presenter:
And once it's all cut out we're gonna score where we're gonna fold it so we get a good crisp line. So if you take your ruler and a pencil, and these lines where we're gonna fold …, if we make sure we just draw a really hard line and press really hard in there.
Presenter:
As hard as you can.
Presenter:
So you want to fold it away from the…, where you scored it, so you get a really good crisp line. Now score down the other lines and the two tabs.
Presenter:
And so if you fold all of your tabs away from you.
Presenter:
And once that's done we're ready to glue together. It's gonna be the inside of our room so we wanna put our tabs on the outside so it looks really neat. Put glue all along the tab, and a good tip is that when you're sticking it to one of the sides put masking tape on to hold it, so that when it's dry you can take the masking tape off and it sticks together.
Presenter:
So now that's done and we just leave that for a few minutes to dry.
Presenter:
And now the model's dry I can start using it. So I've got some toy furniture here that I'm gonna put in, but you can put boxes, make your own, put whatever you fancy inside.
Presenter:
And you've made the model so you can experiment with where the furniture could go. So have a play around and work out which layout works best in the space.
Presenter:
Now for the walls you can either paint them, but I fancy putting wallpaper in. So I'm gonna try some different wallpapers that I've cut out samples of, so I can just slide them straight in and see what they look like.
Presenter:
I think that one looks really good. Now I can see where my furniture's gonna be and what my colour scheme is, I can see what my finished room's gonna look like.
Video summary
This short film for primary schools offers a step-by-step guide to making a 3D room out of card.
Advice is given about which tools to use, folding and joining techniques are explained, as well as tips on how to add finishing touches.
This short film is from the BBC series, I Want to Design.
Teacher Notes
This short film could be used as part of a structures topic in DT.
Pupils could be asked to follow the step-by-step instructions to make their own 3D room or structure.
You could pause the clip at specific points, so your pupils can watch the instructions and follow them.
This short film will be relevant for teaching primary design & technology and art & design.
Designing and making cushion covers. video
Two girls are shown how to make personalised cushion covers from specially printed fabric.
Designing a logo. video
A young entrepreneur is shown how to create and design his own company logo.
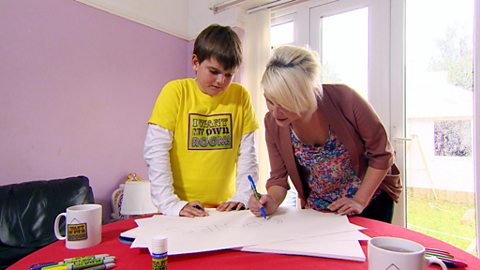
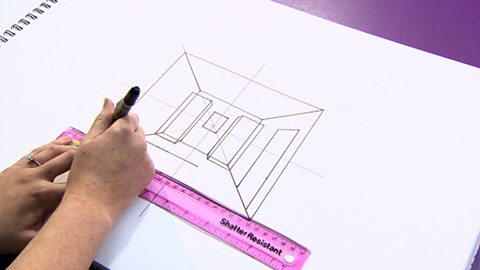
Drawing a 3D room plan and a floor plan from above. video
A step-by-step demonstration of how to draw a 3D and overhead room plan.
Making a design box. video
A look inside a 'design box', which is made up of different tools for craft and design.

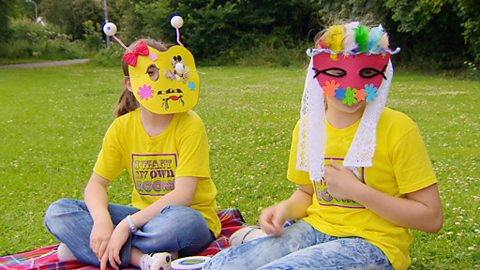
Making masks. video
This short film for primary schools offers step-by-step instructions demonstrating how to make a face mask.
Making simple fridge magnets. video
Step-by-step instructions on how to design and make your own fridge magnets.
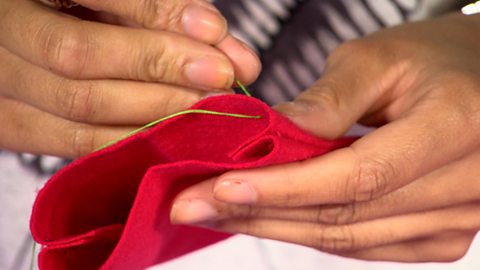
Sewing a mobile phone cover. video
A beginners guide to sewing by hand with instructions on how to make a mobile phone cover.
Making a paper collage. video
An introduction to making a collage using printed black and white pictures.

