Emma Majury:
Hello. In this video, we're going to use collageto make art about journeys. But first, let's takea look at what you'll need. You'll need at least some of these -some crepe paper and tissue paper, coloured card in lots of different colours, feathers, sandpaper.We've got some acetate here. Natural materials like sand, soil and some leaves. Lots of different little bits of fabric and some cotton wool.
If you're going to stick down your collage, you're going to need some glue, but if not, you'll need a camera so you can take a pictureof what you've made. OK. Let's begin. There's lots of different ways of showing a journey.
Our journey is going to follow a trip from the city into the countryside. Now, our journey follows a long line, so you're going to need a long sheet of paper. If you don't have paper on a roll, you can just stick two sheets ofpaper together, like this.
You don't have to use paper as a base. You can make a temporary collage on a table, piece of paper or card, or even a plastic tray.Now, collages are all about colour and texture, so let's think about what we'd see in the city. Lots of brick, glass, steel and concrete.
So I'm going to start with some concrete for my buildings and I'm going to use this textured grey card for that.And we also need to think…about the glass in our skyscrapers,and for that, I'm going to use thisacetate sheet here. And we need to think about shape. There are lots of straightlines in the city, so I'm cutting lots of rectangles and squares.
I'm also going to cut some smaller shapes out of coloured card for people and cars. You don't always haveto be realistic.Collages can be pretty abstract. I've arranged my city, but I haven'tstuck anything down yet. Everything's tightly jumbled overhere on the left, so there's plenty of roomfor the countryside to spread out to the right.
OK, as we move out of the city, buildings get smaller and it gets a lot greener, so let's start with some farm shapes and some texture. Play around with your textures. Here, I've used some sandpaper for the buildings. And then some red felt squares for the roof tiles. Now for the greenery. I'm going to add earthy colours, natural materials and much more organic shapes.
Leaves are great for trees and dried ones are much easier to stick. You don't have to use natural materials, though. This green fake fur would be great for some grass. This sack cloth will make great fields, and collages don't have to be flat. If I scrunch up this cloth like this…I can make a great 3D effect. See? We're already really getting the feeling of our move from the city into the countryside.
Now I'm going to add some blue tissue paper for the sky. And then scrunch up this brown paper to make some craggy mountains. And now I'm going to take some cotton wool and pull it apart slightly to make some clouds. It would also make really good snow as well. Now I'm going to scrunch up some of this tin foil, because I'm going to have a river flowing through my picture. So we can pop the foil down so our river is winding right through our countryside and down off to the side here, into the sea.
Now, I've got lots of different feathers here. These could be littleboats at the seaside or perhaps even birds in the sky. I'm going to pop them in my sky. There. I think that's everything. Now, nothing's stuck down yet. But if you're happy with the wayeverything's arranged, then you can reach for the glue, or if you don't want to stick it down, then you can take a camera and take a picture of itand then you'll have captured it forever.
Whether you stick it or not, think about what you put down on your collage first. Here I've overlapped objects to create perspective. Whatever I've put on top looks closest. Layering can also add to a sense of movement and direction, like we've done here. You can get the whole class involved.
You could take all your collages and join them together to make one long journey, from a trip to school or even a journey round the whole world.
Video summary
Artist Emma Majury makes a collage of two contrasting landscapes, using paper, plastic, card, fabric, cotton wool, feathers and leaves among other materials.
She gives advice on making the best use of texture and colour, and using your imagination to make different materials represent real life objects.
When finished, the collage can either be glued down, or you can take a photo to keep a record of the art work.
Emma finishes with some suggestions for whole class collage projects.
This is from the series: Schools A&D clips
Teacher Notes
This could be used as a straightforward introduction to representing a real landscape using collage materials.
Experiment with different textures, man-made and natural, to create specific effects.
Make a picture that can be explored by touch and hearing as well as sight.
This clip is suitable for teaching Art and Design at KS1 and KS2 in England, Foundation and KS2 in Wales, Foundation KS1 and KS2 in Northern Ireland and Early and 1st Level, 2nd Level in Scotland.
How to draw a lifelike self-portrait or portrait. video
Draw a realistic portrait using proportion, light and shade and balance techniques.
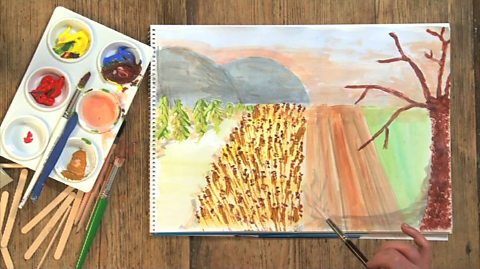
Using different painting techniques for effect. video
Step-by-step guide to painting methods including landscape and abstract images.
How to photograph a moving object. video
Basic camera and photography skills needed to photograph moving objects successfully.
Printmaking with different materials. video
Introduction to simple printing techniques using widely available materials.
Making sculptures from dry materials and clay. video
A demonstration of how to shape and make dry media and clay sculptures.