Emma Majury:
Hi. How do you see yourself? Well, now's your chance to show people because I'm going to show you how to draw a self-portraitusing lots of different techniques and materials. Let's start with looking at what we're going to need. I have got some drawing pencils,some colouring pencils, oil pastels, chalk pastels, charcoaland some inking pens. You might not need all of these,but you're definitely going to need enough mirrors for everyoneand lots of paper.
First thing we need to do is decide what view you're going to draw of yourself. You can look at yourself straighton or you can turn slightly to the side but still lookingat the mirror. This is called a three-quarters view and you might find thiseasier to draw. To begin with,we're going to draw an outline, so no detail, just an outline of the shape of your head. Don't worry if you take a few goes at this.
Now we need to add the detail. So, start by looking where your eyes, your nose and your mouth are positioned. You can even talk about it out loud. In my view, my eyes are both on the same side of my head. If you need a guide to help get the features in the right place, you can try this - draw three stripes across the head. Your eyes are in the middle of the middle stripe…
…your mouth is in the middleof the bottom stripe…
…and your nose is in betweenthe eyes and above the mouth.
When your outline is finished, take a look at the light and shadows on your face. On my face, there's a lot of light on my fringe, on my nose and there's shadows underneath my eyes, underneath my nose and underneath my chin. Although my hair is all the same colour, it's lighter at the top where the light hits it and darker at the ends. A great way to practise showing this is using white chalk on dark paper. It helps you see where the lightest bits are. Try to notice the different textures of your skin, hair and clothes. You can show this by using differenttechniques and materials.
For instance, my hair is curly, so I'm going to use the side of this brown chalk pastel to put in big, swirly curls. How might you show the texture of a knitted sweater or a crisp white shirt? My collar is lace, so I'm going to put that in now. Take a close look at your skin, too, and the way the light reflects off it. Try different media and effects to show this. Once you've done your firstself-portrait,there are lots of other types of drawing you can try too.
Change your point of view. If you've already done a three-quarters view portrait, then look straight onand try a full-face portrait.Or change your materials. We've been using pencils and chalk, so why not try pen and ink or perhaps using blackand white instead of colour? Why not try drawing someone else? Learn to look at their features. They may be very different from yours. And there's more to who you are than your face. Why not try drawing something that means something to you, for instance yourschool or the area where you live? Or even try a still life of a sport or a hobby that you're interested in. And that's it for this video.I hope it's inspired you.
Video summary
Using a mirror and a limited range of drawing materials, artist Emma Majury demonstrates the technique of drawing a self-portrait.
She applies different drawing materials and techniques to create an image which is in proportion and enhances it with shades, tones and an awareness of how light and shadow affects the subject.
She suggests ways children could develop their technique with other drawing projects.
This is from the series: Schools A&D clips
Teacher Notes
The pupils could do a close observational drawing.
Such as self-portraits using safe mirrors.
Portraits to create a collaborative display, crowd scene or year group image.
They could then make a greetings board or welcome display in entrance areas.
This clip is suitable for teaching Art and Design at KS1 and KS2 in England, Foundation and KS2 in Wales, Foundation KS1 and KS2 in Northern Ireland and Early and 1st Level, 2nd Level in Scotland.
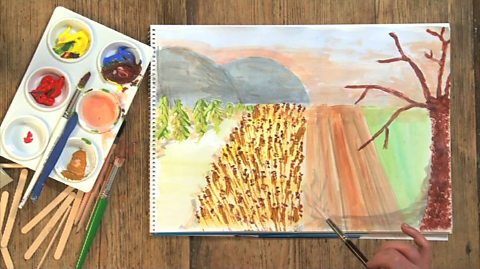
Using different painting techniques for effect. video
Step-by-step guide to painting methods including landscape and abstract images.
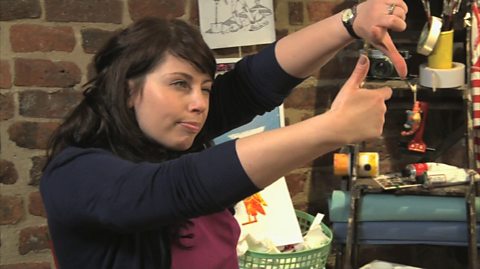
How to photograph a moving object. video
Basic camera and photography skills needed to photograph moving objects successfully.
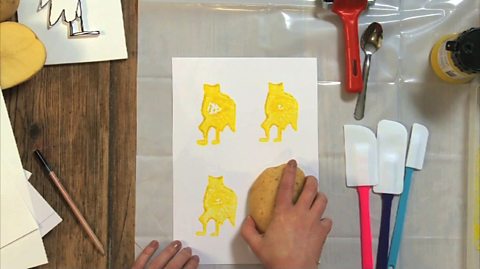
Printmaking with different materials. video
Introduction to simple printing techniques using widely available materials.
Making sculptures from dry materials and clay. video
A demonstration of how to shape and make dry media and clay sculptures.
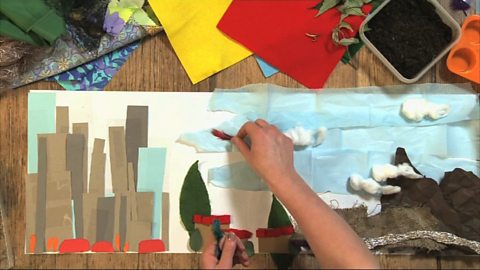
Creating a collage landscape. video
How to use a variety of textured materials to create a landscape collage.