In this video we're going to bring fairy tale creatures to life using the art of sculpture. We're going to need a good-sized lump of modelling clay some modelling tools including spatulas blunt knives and some cocktail sticks. A rolling pin and also some pipe cleaners or modelling wire some thin paper like tissue paper would be good for this. Some PVA glue and some pencils and brushes.
So let's get started and what couldbe more fairy tale-like than a fairy? So first we' ll need some modelling wire or pipe cleaners. And we'll wind round the top of this to make a head. Just pinch it in so it's nice and wound tight there. And then we're goingto take another pipe cleaner and this is going to be our arms. So if you place it in the middle so that both the arms are about the same length. And then just wind each section round once. That should keep it attached.
Now for the legs we'll take two pipe cleaners… and wind each one around the body. Tuck all the ends in so it's nice and neat. Now our arms and legs are quite long so we've got space at the end to make loops for hands and feet.
OK and our fairy is also going to need some wings. So for the wings we are going to use four pipe cleaners. And I think I shall use differentcolour ones here so I'm going to go for purple. We need to make a big loopfor two of them… and then a little loop for the other ones.
There we go.
Now we're going to need our tissuepaper to fill in the wings. So if you set your wings down on top of the tissue paper you can draw around it. You need two layers. Now we just need to cut these out. Dab a tiny bit of glue all over one piece of the tissue paper right to the edges. Now this could get messy so do protect your desk. And then set one of your wings on top. And then the other piece of tissue. Press it down. When all the wings are done lay them out like this with the small ones underneath. Then lay your fairy over the top… and take one more pipe cleaner… and wind it round all the wing stems and the fairy's body. Like this. And that with a careful bit of wing-adjustment… is our fairy.
Our fairy is very light and delicate so now we are going to make something with real power out of our clay. Now before we begin we're going to make our sculpture in pieces and we're going to need to make a glue to stick it all together. This glue is called slip clay or just slip and you make it out of old bits of clay mixed with some water. You will need to make it in advance. Put the clay in and leave it to soften overnight. The next day it should look like this. So it's all gone very soft. And it shouldn't be runny. When you dip your finger in it it should sort of make a little peak like that.
Right our slip clay is ready so now let's get on with making our sculpture. We're going to make a legendary animal a griffin half lion half eagle. So we're going to need a good big lump of clay to start with. And I'm going to roll it into a ball. And then I'm going to roll the ball into a sausage. Now our griffin's going to be sitting up. So we're going to set our sausage shape on end like this. And then we're going to need a smaller ball of clay which we're going to use for the eagle's head. Roll that into a ball as well. You need to stretch and press part of the ball to make the eagle's beak. You could always smooth it out with your fingers. And an eagle's beak is pointed downwards so you can just pinch it down like this. Now we need to stick the head onto our body and to do that we are going to take a tool and just score both bits that we want to stick. Then you need to take a spatula and your slip and work that into the grooves. And we can attach our head. Give a wiggle around there it takes a while to set so that gives you time to get it in position. You need to do this for every part of the sculpture you're going to stick on.
Now for the wings. Roll out a square of clay about a centimetre thick. Then cut it in half diagonally. Round the corners slightly with your fingers. Then for the texture of feathers press half-moon shapes into the clay using a spatula or the end of a spoon. We'll stick these on later on.
Now for the legs. The griffin's sitting down so its front legs will be straight and its back legs will be tucked in under like a cat's. So we'll need to makesome more sausages. The front legs can go straight on. Remember to score them.
There.
Now the back legs we need to shape them into an S shape. Now let's put the wings on. This is the trickiest bit. You might need to hold them steady for a while.
And now we're ready for some detail. For this we'll need small tools blunt knives spatulas and some sticks. First let's add some toes and claws.
There's our toes.
I'm just going to use my fingers to make the claws.
Now let's add some detail to the face.
Now we've got to add a tail. And you need to make a big long sausage for this - quite thin this time - with a tuft at the end of it.
There our finished griffin. This is called "additive" sculpture. When you stick things together.
If we were to take a lump of clay and cut parts away then that would be called "subtractive".
Give it lots of time to dry. More clay takes longer to dry.
So we've made two winged creatures with a very different feel thanks to different materials. And you can add more as well. I've added a tissue paper skirt to my fairy but you can add some glitter or paint if you'd like. Try making your griffin look like stone by adding some sand while it's still damp. If your griffin has dried just add some water to dampen it again.
Different materials workfor different creatures. This tree monster is madeout of papier mache over a chicken-wire frame. If you need inspiration take a look on your bookshelf. Your books of fairy tales will have lots of fantastic creatures in them.
Video summary
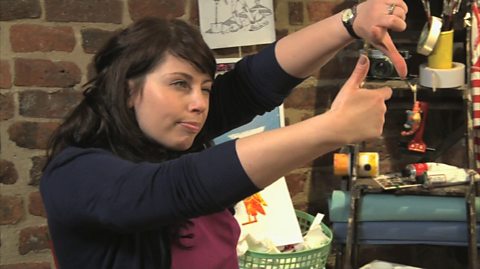
Artist Emma Majury begins by giving an introduction to some of the basic techniques that can be used to make sculptures from dry materials.
She makes lightweight fairy figures using pipe-cleaners and tissue paper.
She then demonstrates how to create sculptures using clay; applying slip for joining and indenting the clay to produce surface textures on a griffin model.
This is from the series: Schools A&D clips
Teacher Notes
This clip could be used as an introduction to sculpture using dry materials, before progressing onto clay sculpture techniques.
This clip is suitable for teaching Art and Design at KS1 and KS2 in England, Foundation and KS2 in Wales, Foundation KS1 and KS2 in Northern Ireland and Early and 1st Level, 2nd Level in Scotland.
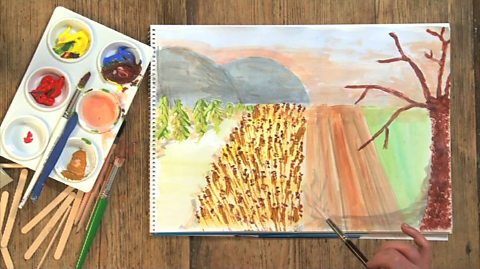
Using different painting techniques for effect. video
Step-by-step guide to painting methods including landscape and abstract images.
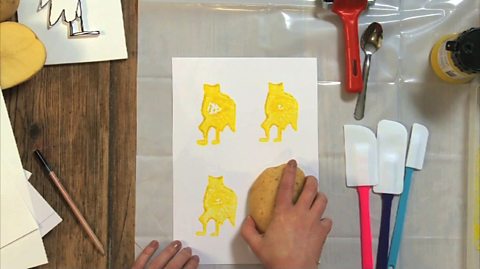
Printmaking with different materials. video
Introduction to simple printing techniques using widely available materials.
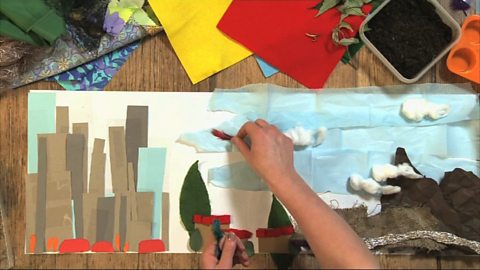
Creating a collage landscape. video
How to use a variety of textured materials to create a landscape collage.
How to draw a lifelike self-portrait or portrait. video
Draw a realistic portrait using proportion, light and shade and balance techniques.
How to photograph a moving object. video
Basic camera and photography skills needed to photograph moving objects successfully.