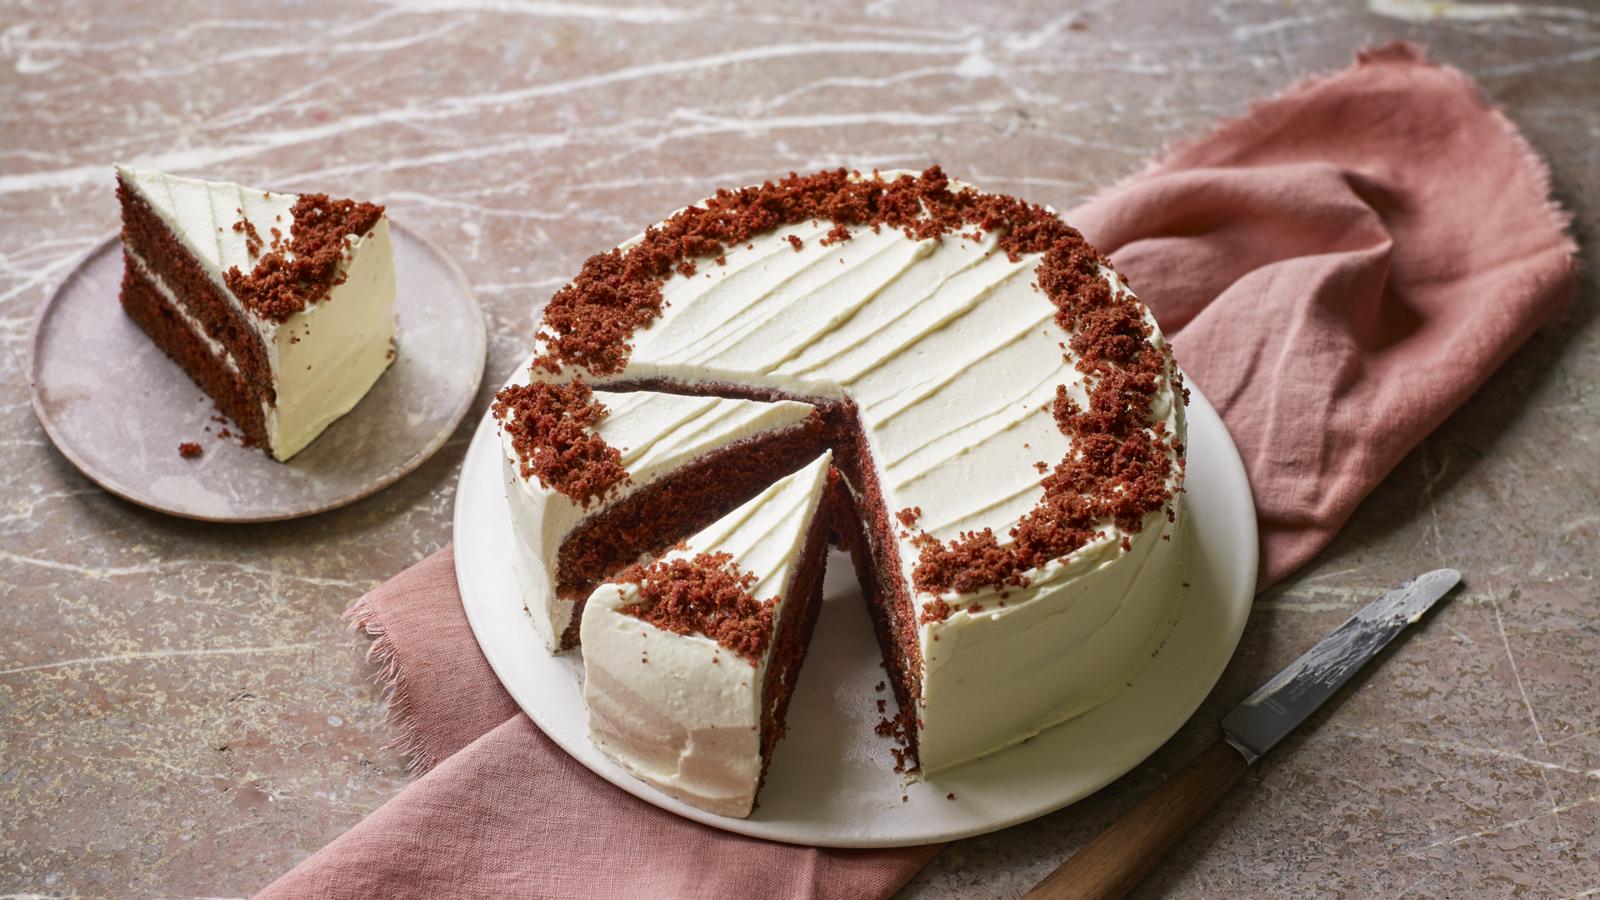
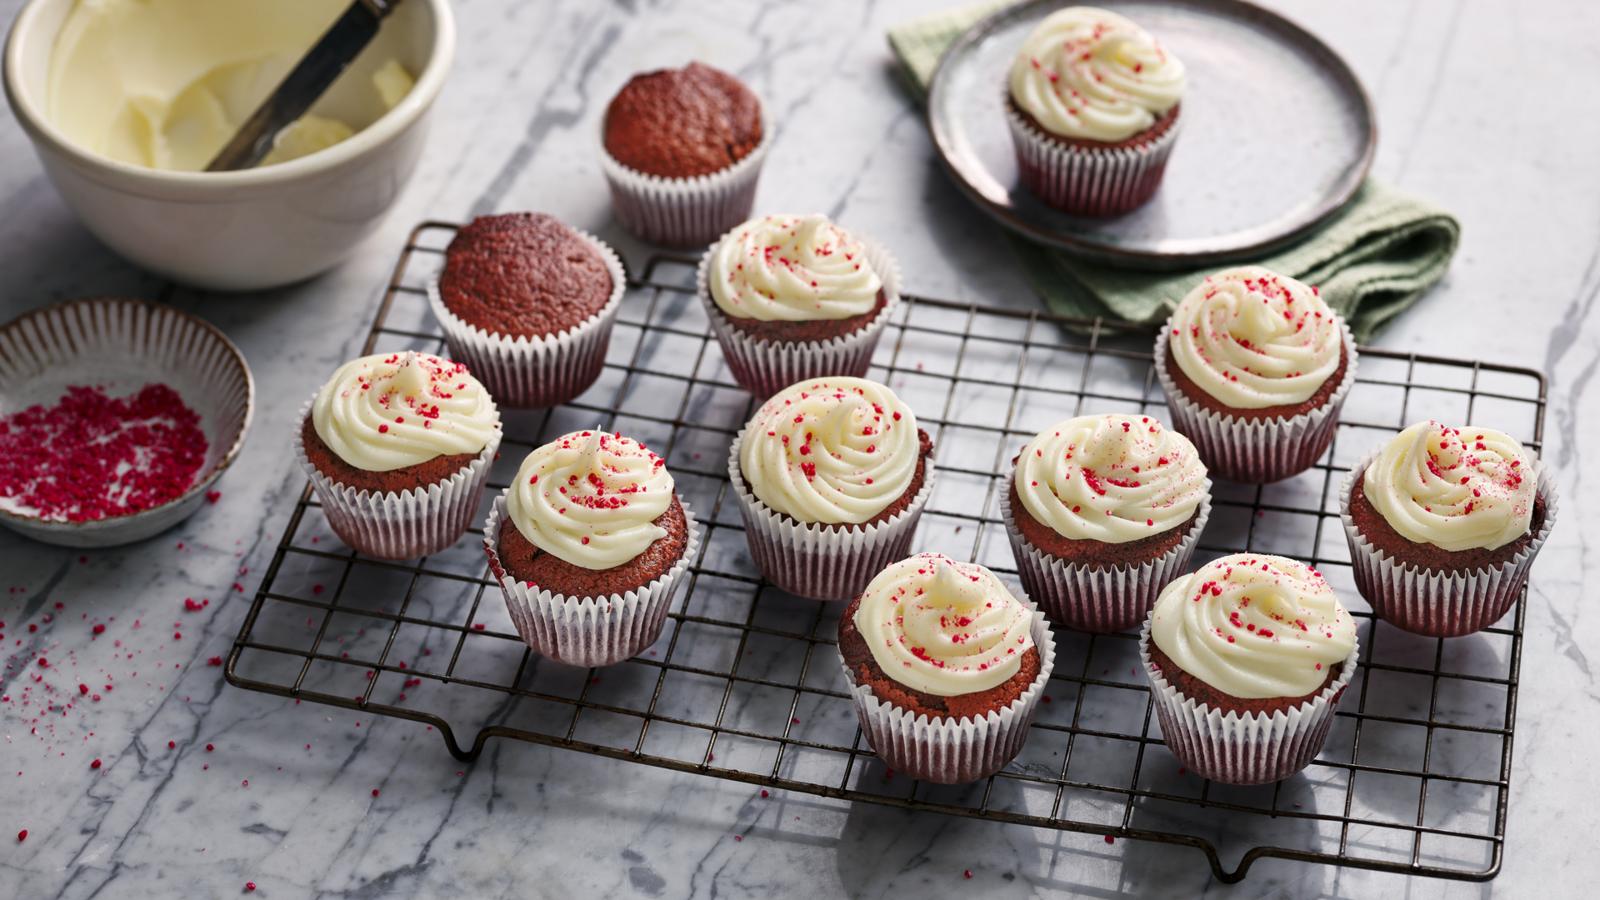
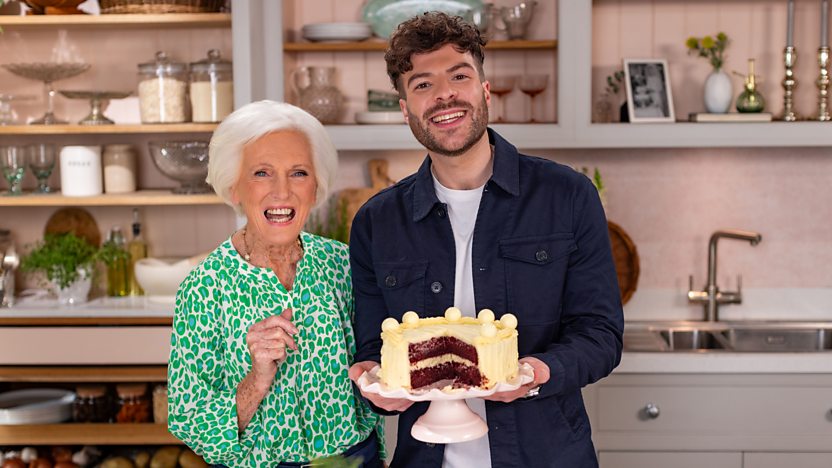
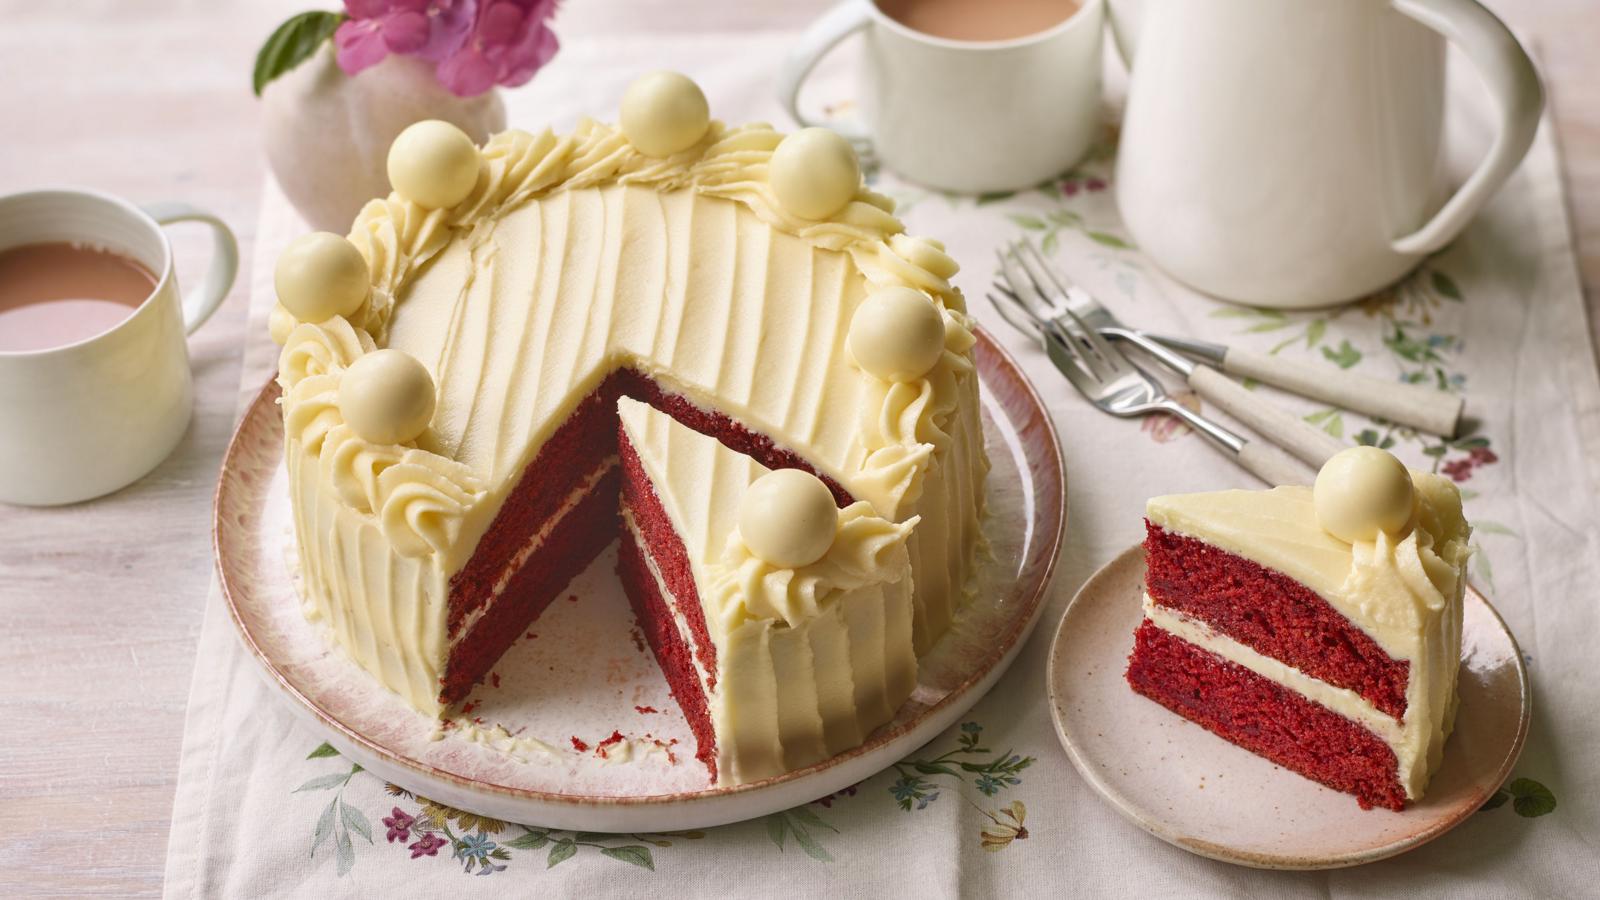
Mary Berry's red velvet cake
- Prepare
- 30 mins to 1 hour
- Cook
- 10 to 30 mins
- Serve
- Serves 8
- Dietary
- Vegetarian
An impressive but easy red velvet cake from the baking queen Dame Mary Berry. It's so simple, even a complete beginner can knock it together.
Invest in a professional food colouring paste to get deep red sponge cakes. Cheaper food colouring won't look the same no matter how much you use.
By Mary Berry
From Mary Makes It Easy
Ingredients
For the red velvet cake
- butter, for greasing
- 250g/9oz plain flour
- 1 tbsp cocoa powder
- 2 tsp baking powder
- 1 tsp bicarbonate of soda
- 250g/9oz light muscovado sugar
- 200ml/⅓ pint buttermilk
- 150ml/¼ pint sunflower oil
- 2 tsp vanilla extract
- 1 tbsp red food colouring gel or about ¼ tsp food colouring paste (see recipe tips)
- 2 large free-range eggs
- 8 white chocolate truffle balls, to decorate
For the buttercream icing
- 250g/9oz butter, softened
- 2 tsp vanilla extract
- 300g/10½oz icing sugar
- 250g/9oz full-fat mascarpone
Method
Preheat the oven to 180C/160C Fan/Gas 4. Grease two 20cm/8in sandwich tins and line the bases with baking paper.
Measure the flour, cocoa powder, baking powder, bicarbonate of soda and sugar into a bowl and mix well.
Mix the buttermilk, oil, vanilla, food colouring and 100ml/3½fl oz water in a jug. Add the eggs and whisk until smooth. Pour the wet ingredients into the dry ingredients and whisk until combined. The mixture should be bright red; it will get a little darker as it cooks. If it’s not as vivid as you’d like, add a touch more colouring.
Divide the mixture evenly between the two prepared tins and level the surfaces. Bake for about 25–30 minutes, or until well risen and shrinking away from the sides of the tins. Cool in the tins for 10 minutes, then turn out, peel off the paper and leave to cool completely on a wire rack.
To make the buttercream icing, place the soft butter and vanilla extract in a large bowl and sift in half the icing sugar. Mix with an electric whisk until smooth. Sift in the remaining icing sugar and mix again. Add the mascarpone to the bowl and gently stir with a spatula (don’t beat with a whisk as it may split). Put a fluted nozzle in a piping bag and spoon about 150g/5½oz of the buttercream into the bag.
To assemble the cake, sit one of the sponges on a cake plate and spread one-third of the buttercream over the cake, then sit the other cake on top. Ice the cake by first spreading a thin layer of icing – a crumb coat – over the whole cake before chilling for 30 minutes.
Pile the remaining icing from the bowl on top and spread it with a palette knife over the top and around the edges to completely cover the cake. Make sure that the icing is smooth around the edges before starting to create lines up the sides. Make wide lines up the sides and swirl the top.
Use the reserved buttercream in the piping bag to pipe a rope design around the edge of the top of the cake. To do this, start at the edge of the cake and pipe continuous swirls of icing overlapping each swirl as you pipe around the edge of the cake. Decorate with the chocolate truffles to finish.
Recipe tips
It’s essential to use a food colouring gel that retains its colour when heated. It’s not the sort of food colouring that you’re likely to find in a supermarket, so you’ll need to plan ahead and order a professional grade version online unless you are lucky enough to have a cake decorating supplier locally. Normal red food colouring just won’t work and could even turn the cake green as it bakes!
If you can’t get hold of light muscovado sugar, use any soft, light brown sugar instead. Don’t use dark brown sugar as the flavour will be too strong and red colouring won’t be as vibrant.
Buttermilk is available in the chiller cabinets of larger supermarkets, close to the yoghurt and cream. It looks a little like a runny natural yoghurt and has a similar, but slightly milder flavour.
Instead of white chocolate truffle balls, you could top the cake with malted chocolate balls or any other chocolates or truffles you fancy. Alternatively, melt a little milk or dark chocolate and allow to cool. Then, before it has a chance to harden, use a teaspoon to drizzle over the cake and leave to set.
If making ahead, cook the sponges up to three days ahead and keep wrapped in plastic film or a reusable plastic bag, separated with baking paper circles. Make the icing up to 24 hours ahead and keep in a covered container in the fridge. Return to room temperature and beat well before using.
The cake can also be baked and decorated the day before serving. Keep in the fridge, lightly covered with foil (or put into a cake container), so
the icing isn’t affected by moisture. Allow to stand at room temperature for around 60 minutes before slicing so that the sponge softens and the icing is creamy. If there is a little condensation on the icing, pat gently with kitchen paper.
How to store
The part-cut cake will keep well in the fridge for up to 3 days, but slices are best bought back to room temperature before serving. Rather than
continually warming then chilling the cake, cut as many slices as you need at one time and then return the cake to the fridge so it stays cold. Keep covered with foil or put into a lidded container with a tight-fitting lid.
How to freeze
The sponges for this cake can be frozen ahead if you like. Allow them to cool completely, then place each one on a circle of baking paper and cover with another circle of baking paper – this will help prevent the sponge sticking – before wrapping tightly in two layers of kitchen foil. Label and freeze for up to 1 month. To thaw, unwrap and place the frozen cakes on a wire rack, loosely covered with foil. Leave at room temperature for about an hour before icing. They don’t need to be completely thawed as they will continue to defrost once the crumb coat is chilling and will be ready to eat once decorated.