Cheese scones

- Prepare
- less than 30 mins
- Cook
- 10 to 30 mins
- Serve
- Makes 10 scones
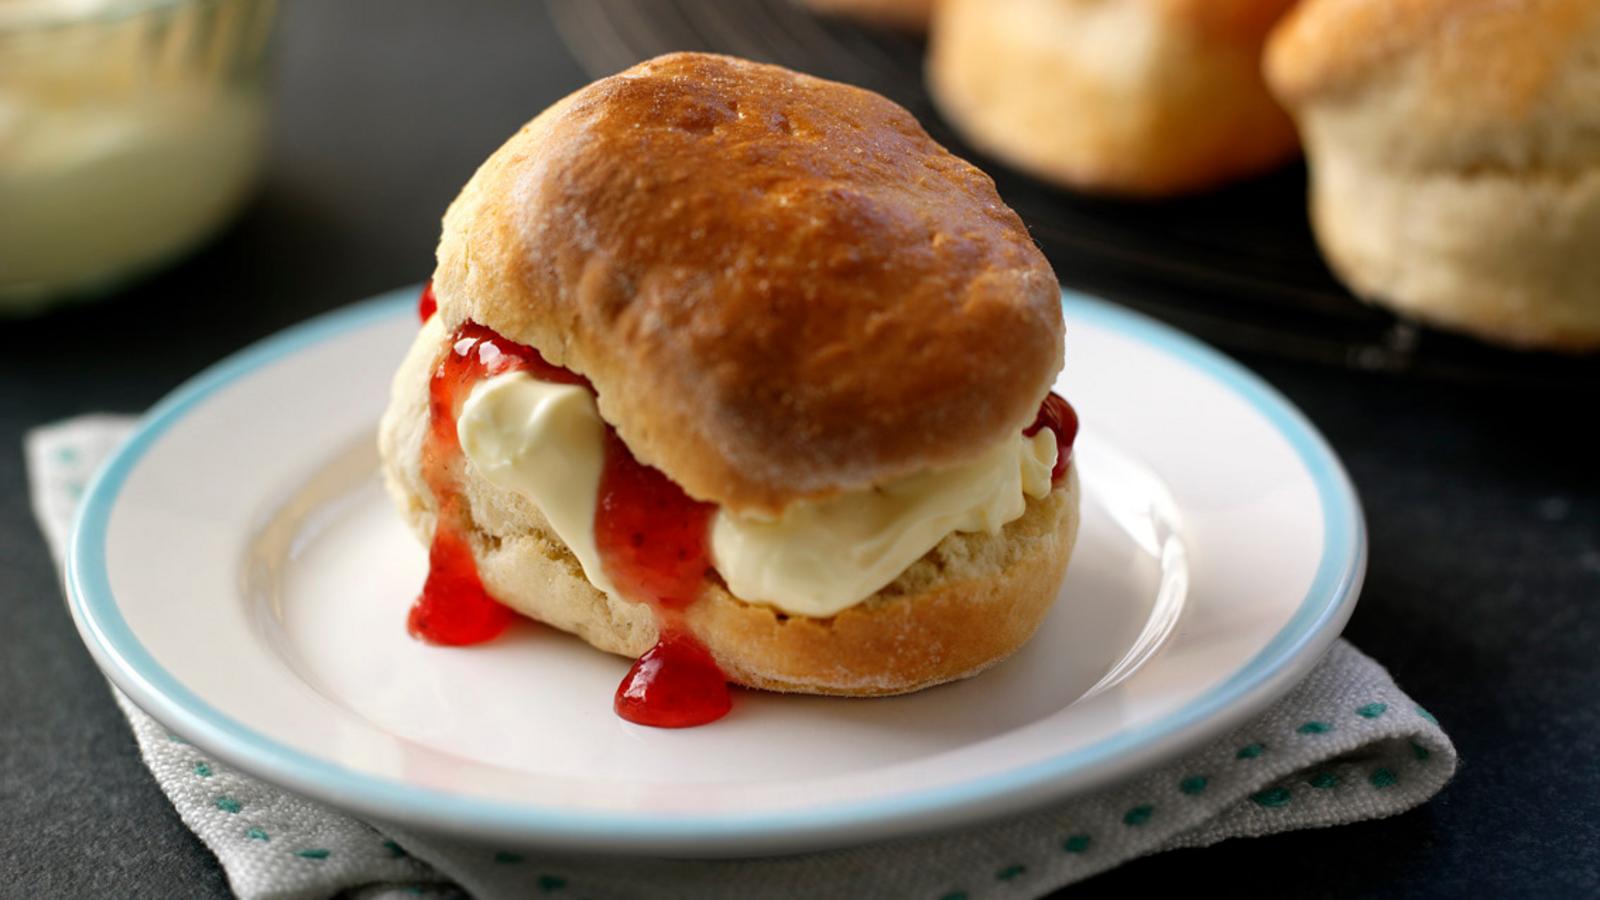
The perfect savoury cheese scone recipe – best eaten warm spread liberally with butter! These scones are so easy to whip up for lunchboxes or picnics.
Each serving provides 143 kcal, 3g protein, 18g carbohydrates (of which 1g sugars), 6.5g fat (of which 4g saturates), 1g fibre and 0.5g salt.
Ingredients
- 225g/8oz self-raising flour
- pinch of salt
- 55g/2oz butter
- 25g/1oz mature cheddar, grated
- 150ml/5fl oz milk
Method
Preheat the oven to 220C/200C Fan/Gas 7. Lightly grease a baking sheet.
Mix together the flour and salt and rub in the butter. Stir in the cheese.
Stir in the milk until you get a soft, sticky dough (you may not need all the milk).
On a floured work surface, knead the dough very lightly. Pat out to a round 2cm/¾in thick.
Use a 5cm/2in cutter to stamp out rounds. Place on the baking sheet. Lightly knead together the offcuts of dough and stamp out more scones to use it all up.
Brush the tops of the scones with a little milk. Bake for 12–15 minutes until well risen and golden-brown. Cool on a wire rack.
Recipe tips
Using mature cheddar will give a stronger flavour to the scones, which means you don’t need to use quite as much. Grate on the fine shredding side of your grater rather than the coarse grate, so it is more evenly distributed throughout the scones. You could try sprinkling some extra cheddar, or perhaps finely grated Parmesan, on your scones before baking to make them extra cheesy. Glaze with beaten egg instead of milk for shinier, more golden tops.
It’s best to use chilled butter for rubbing in (use straight from the fridge if you can). Using cold butter means it is more likely to stay in defined pieces lightly dusted in the flour which helps make the scones extra light and fluffy. Cut into small cubes and drop into the bowl with the flour and salt. Rub the butter into the flour between your fingertips and thumbs until it looks like fine breadcrumbs. Lift and drop the mixture through you fingers as you rub in to help incorporate more air. The proportions of fat to flour are less for scones than pastry, so it will look more floury when rubbed in.
Scones need a soft dough, so add the milk and mix until it comes together and is spongy and light. Knead gently and just enough to make the dough smooth – if you over work it, the scones will toughen. You’ll need a extra flour dusted onto the work surface to stop it sticking. Dust a little over the top of the dough too, then use the palms of your hands to pat out to the desired thickness. You can use a rolling pin, but it probably isn’t worth it for such a small amount of dough. Brush off any excess flour before glazing.
It’s essential to pat your dough out until it’s 2cm/¾in thick and no thinner – this will really help with the rise and make your scones look a whole lot more impressive. A plain round cutter is usually used for savoury scones, but a fluted cutter will work too. If you don’t have any cutters, then simply use a sharp knife to cut your scones into squares instead of rounds – they won’t look the same as a traditional scone, but they will still taste great.
When cutting scones, it’s important to get a nice, sharp edge to encourage them to rise well. Press down in one clean action to cut the scone shape with your cutter, then lift off immediately. Use a palette knife or spatula to transfer the scone to a baking tray rather than fingers as you may squash the sides inadvertently and this will affect the rise.
For extra savoury scones, add fried and cooled bacon bits to the rubbed in flour and butter before adding the milk. Keep the pieces small so the scones can be cut easily. For a veggie version, try chopped sun-dried tomatoes. A handful of freshly chopped parsley or chives can also be added – fresh herbs fleck the dough with green and add an extra burst of flavour.
How to freeze
Scones are best served the day you make them, but if you bake more than you need you can keep any leftover scones in a lidded container for up to 2 days. Alternatively, you can freeze the scones in a large, sealed freezer bag for up to 2 months.
Best served warm, thaw at room temperature for a couple of hours and heat gently in a low oven for a few minutes before serving. You can also warm thawed scones in a microwave oven for 20–30 seconds, but make sure you serve quickly as they will toughen on cooling.