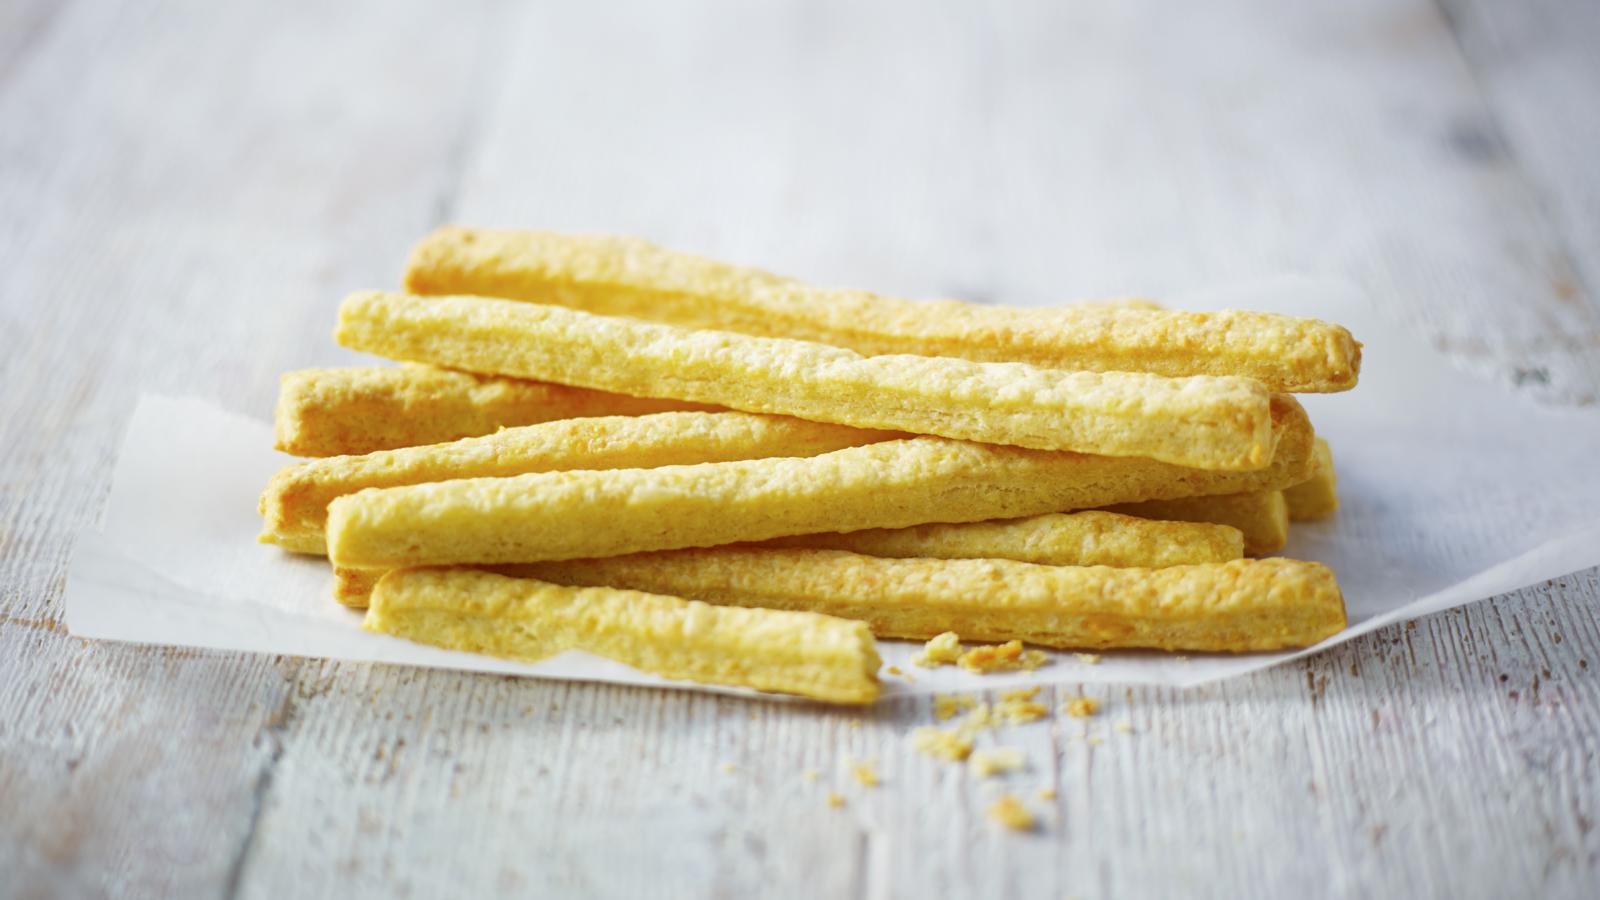
Cheese straws
- Prepare
- less than 30 mins
- Cook
- 10 to 30 mins
- Serve
- Makes approximately 40–70 cheese straws (depending on size)
Flaky, buttery cheese straws are a party hit with kids and grown-ups. Crank up the mustard and pepper if you want more zing.
Each serving provides 71 kcal, 1.8g protein, 5g carbohydrate (of which 0.1g sugars), 4.8g fat (of which 2.9g saturates), 0.3g fibre and 0.14g salt.
By Jenny White
Ingredients
- 375g/13oz plain flour
- pinch salt
- 225g/8oz butter, diced
- 150g/5½oz mature cheddar, grated
- 50g/1¾oz freshly grated Parmesan (or a similar vegetarian hard cheese)
- pinch English mustard powder
- small pinch cayenne pepper
- 2 free-range eggs, yolks only
Method
Sift the flour and a pinch of salt into a bowl. Using your fingertips, rub in the butter until all the lumps are gone and the texture resembles fine breadcrumbs.
Stir in the cheese, mustard powder, cayenne and egg yolks. Add 3–5 tablespoons cold water and mix to a firm dough (you may not need all the water).
Wrap in cling film or a food bag and chill in the fridge for 30 minutes.
Preheat the oven to 190C/170C Fan/Gas 5.
Line a baking sheet with baking paper. Roll out the dough to a square, roughly the thickness of a £2 coin. Cut the square in half, then cut each half into 1cm/½in strips.
Transfer carefully onto the lined baking sheet and bake for 10–15 minutes, until crisp.
Leave to cool on the tray then either serve immediately, or store in an airtight container for up to 3 days. Alternatively freeze them (see the recipe tips for instructions).
Recipe tips
This recipe makes a big batch of cheese straws, but the ingredients can be easily halved. Alternatively, make in batches and freeze what you don’t need straight away. The freshly cooked cheese straws will keep well in a lidded container for up to 5 days.
Freeze the butter and grate it into the pastry to make it easier to rub in while keeping it really cold. You could also make this recipe in a food processer, but be careful not to mix the pastry for too long. Just pulse it until it comes together.
It’s important to grate the cheese finely for these cheese straws. Use the small shredding side of a box grater for the Cheddar not the spiky round holes that are more suitable for the Parmesan. A handheld microplane-style grater also works well.
If you don’t have any mustard powder or cayenne pepper handy, simply leave out altogether, or add a little chilli or curry powder instead.
You’ll need to dust your kitchen work surface and rolling pin lightly with more flour to roll out the cheese dough. Try and keep to a neat square. If it helps, use a ruler and pencil to mark out the right size on baking paper first, then turn over and roll the pastry out on the paper until it reaches the correct size. It will need to be around 32x32cm/12½x12½in square. Any raggedy edges can be trimmed off and baked separately – they’ll still taste just as good.
If you don’t find rolling dough easy, roll out half the pastry at a time instead, until the thickness of a £2 coin – around 5mm thick – and roughly 32x16cm/12½x6¼ in.
Make mini cheese straws by cutting the pastry into three wide strips lengthways, instead of in half, before dividing horizontally. They are perfect for lunchboxes and picnics. Serve with a creamy dip, such as cheese and chive or a smooth humous, if you like.
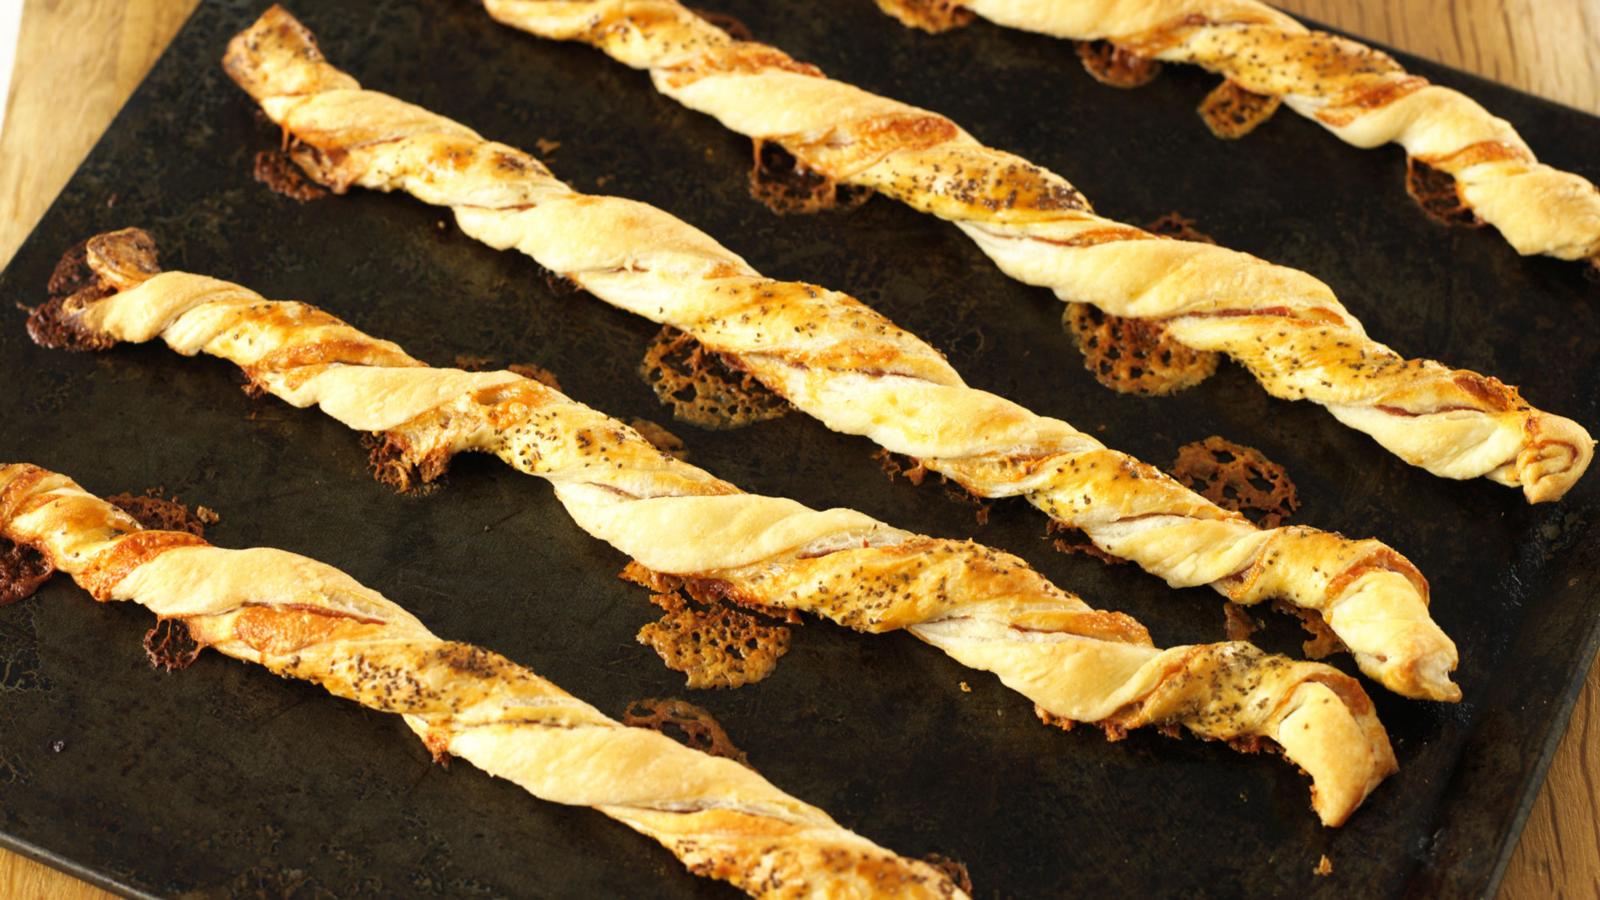
For a special glaze, you could try brushing the cheese straws with a little beaten egg and then sprinkling with poppy or sesame seeds before baking. Or grate a little extra Parmesan on top.
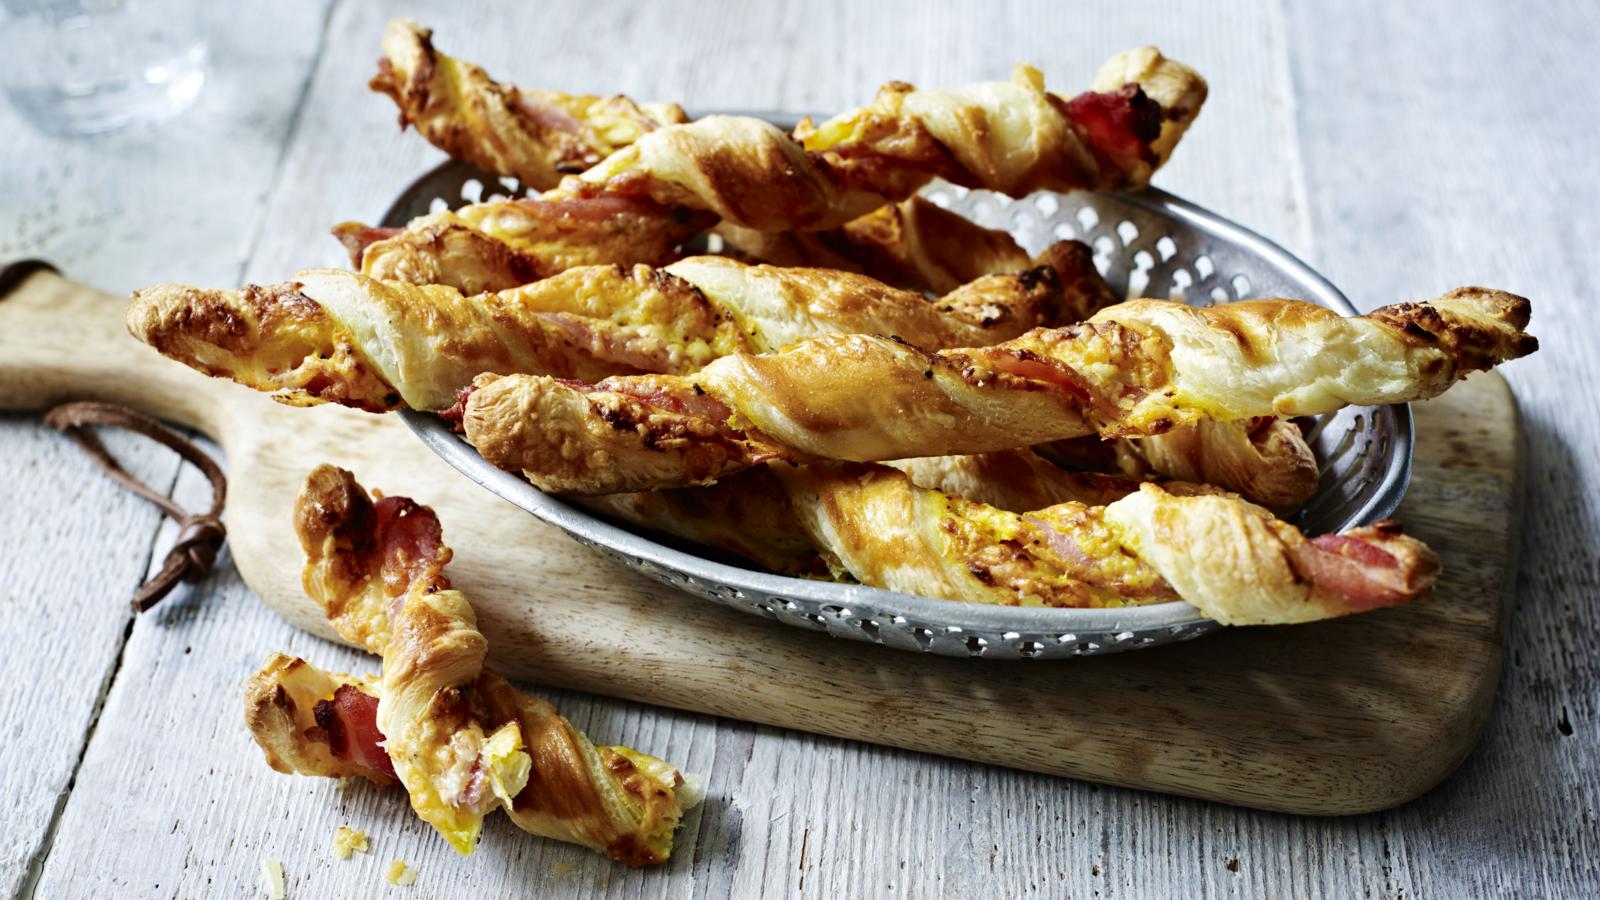
For a savoury bite to serve with drinks, wrap the cheese straws in strips of Parma ham or prosciutto before arranging on a platter to serve.
How to freeze
Cheese straws freeze beautifully. Simply follow the recipe up to the end of step 5 and leave to cool completely. Once cold, place carefully in neat rows in a lidded freezer-proof container, placing sheets of baking paper between each layer. Cover, label and freeze for up to 4 months.
To serve, either take out as many as you need and thaw on a plate or platter, lightly covered with kitchen paper or foil, at room temperature for about an hour. Or, ideally, place on a baking tray and reheat from frozen in a preheated oven at 180C/160C Fan/Gas 4 for about 5 minutes.
How-to videos
Related recipes


Try as part of this menu
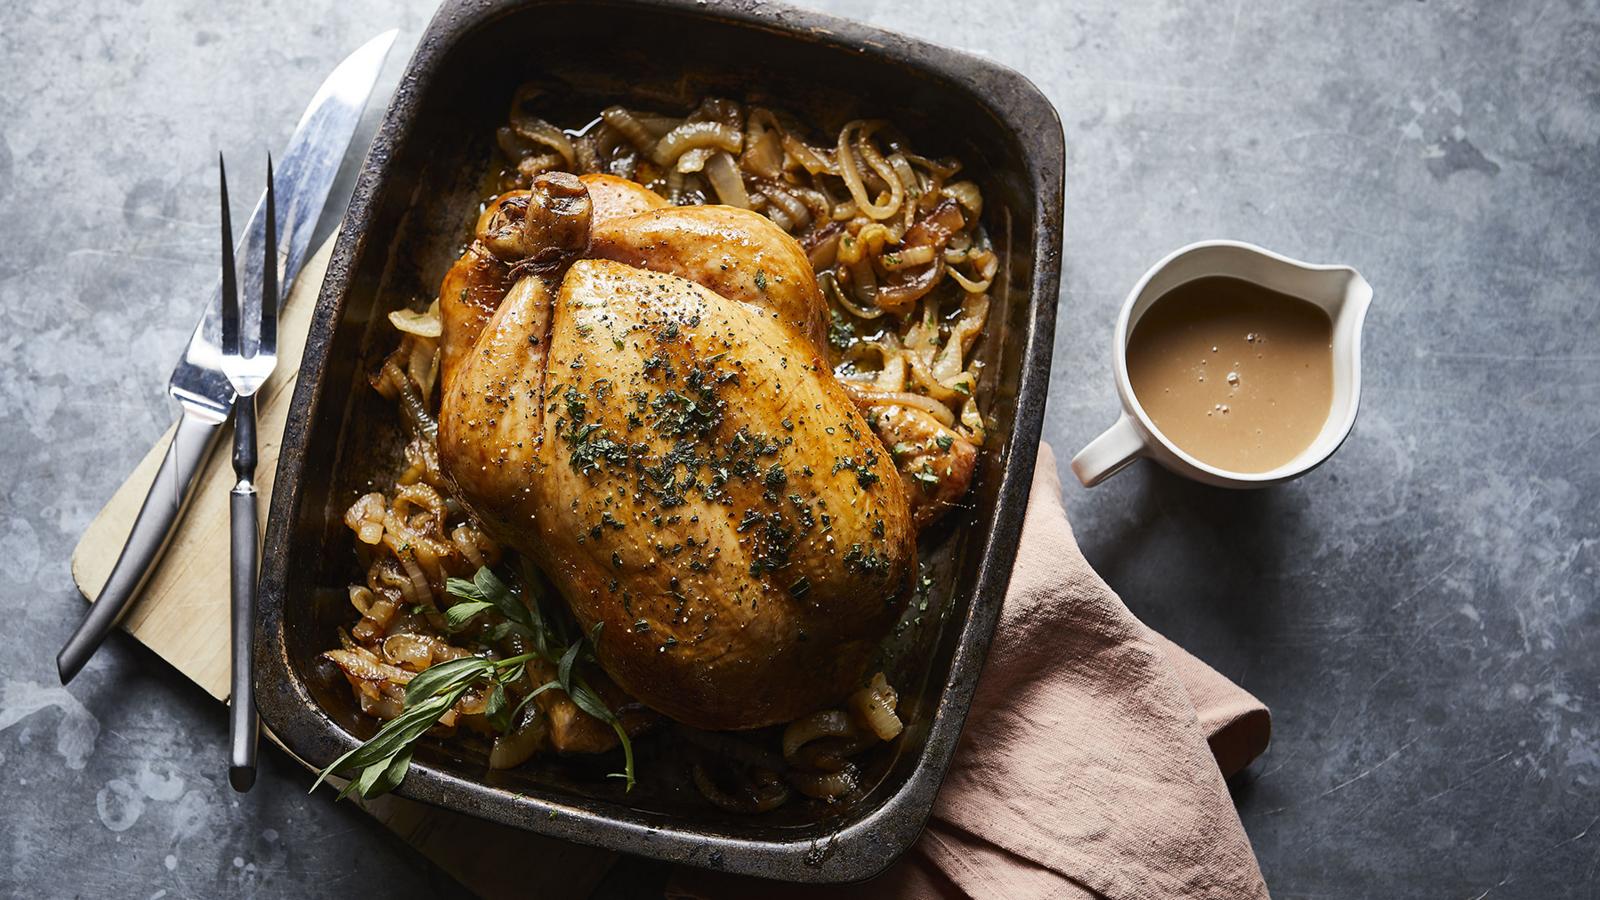
Sunday lunch with friends menu. Menu Sunday lunch with friends menu
Convivial and hearty, these recipes are profoundly satisfying and unostentatious - perfect for a relaxed weekend lunch with friends.
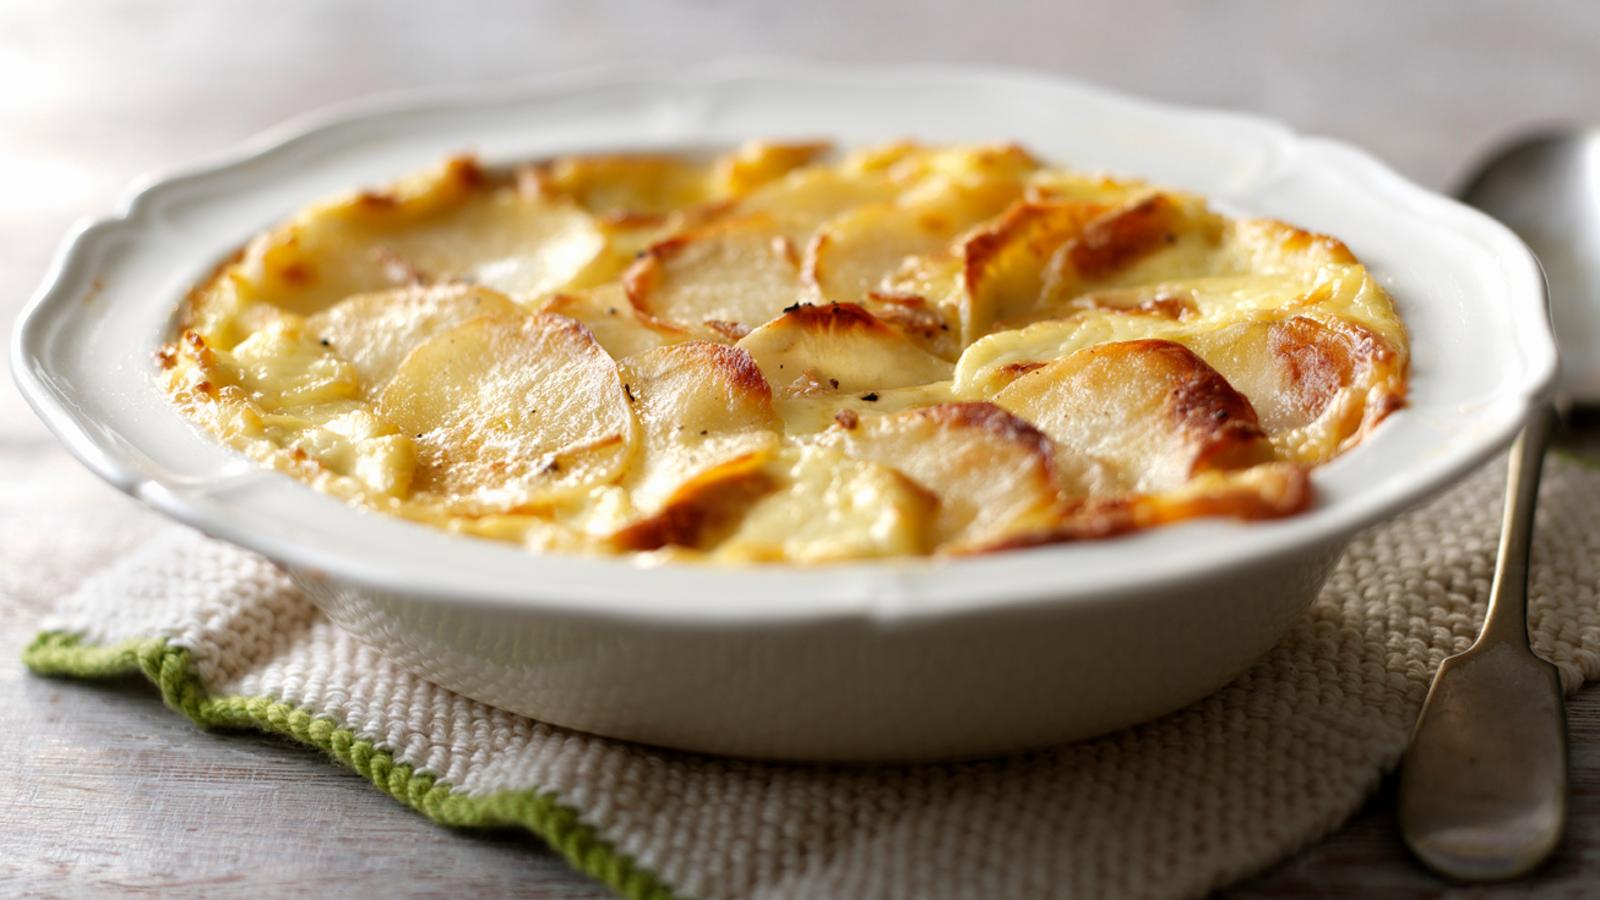
Dauphinoise potatoes. By Mike Robinson
Side dishes
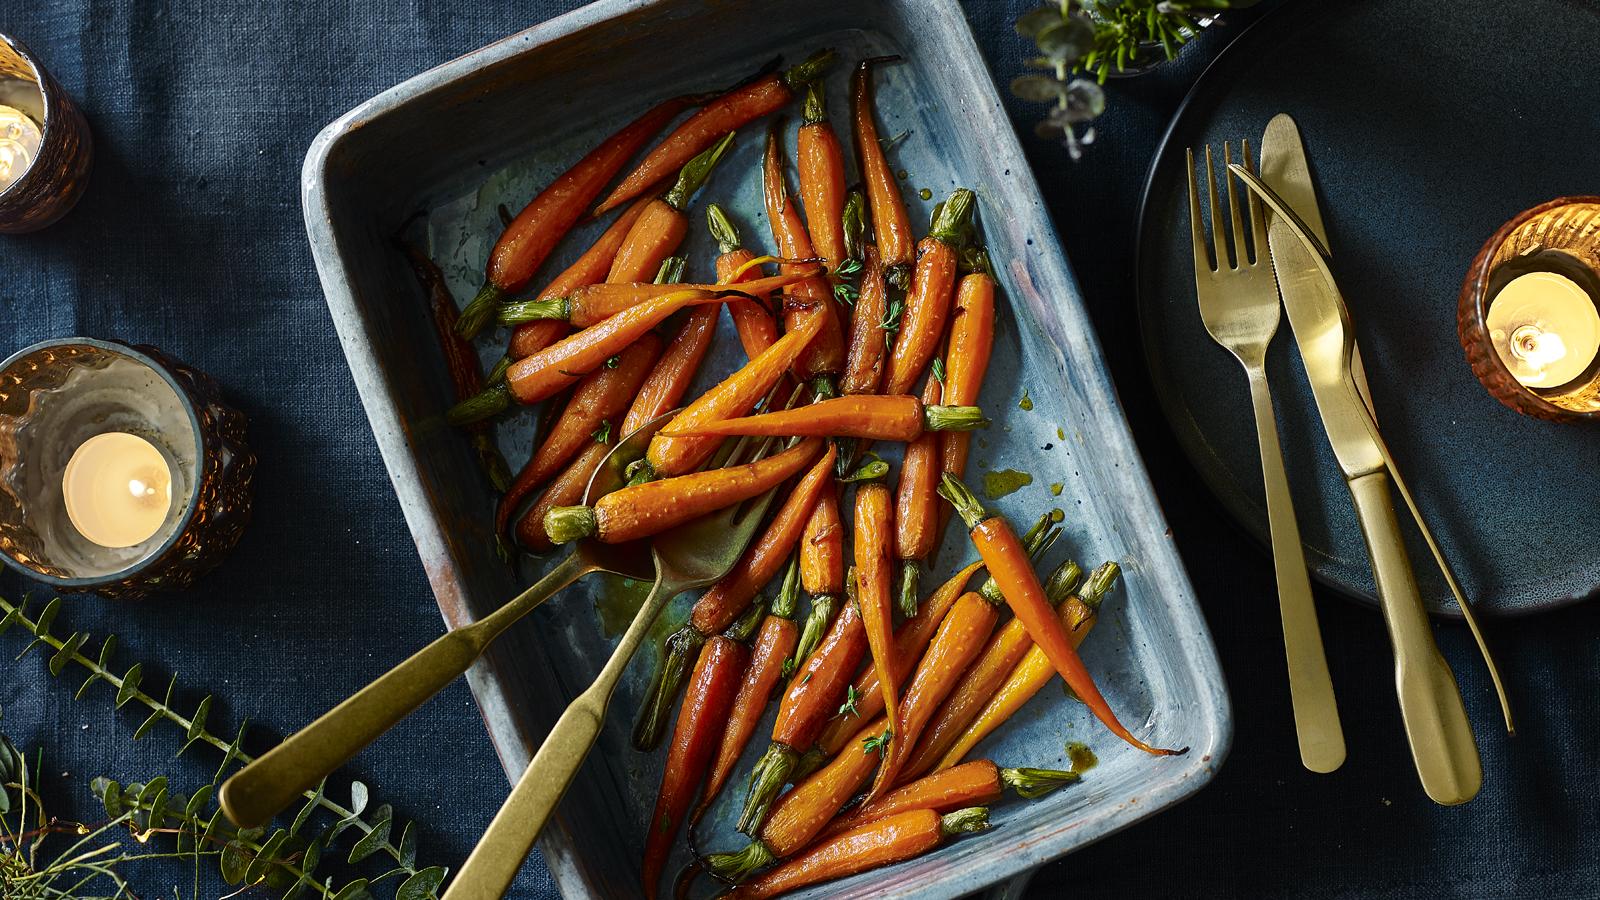
Honey roasted carrots. By Justine Pattison
Side dishes
Mary Berry’s treacle tart. By Mary Berry
Cakes and baking