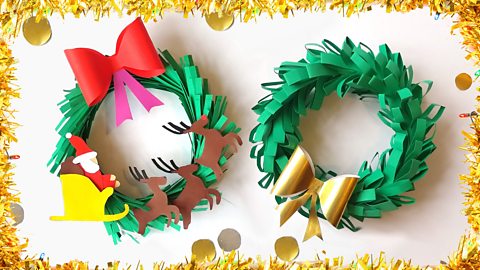
Learn how to make paper Christmas wreaths
Get fully festive with this fun and simple craft activity, perfect for decorating your home.

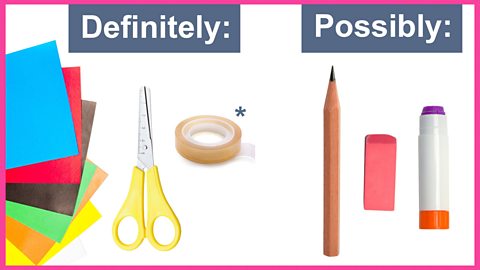
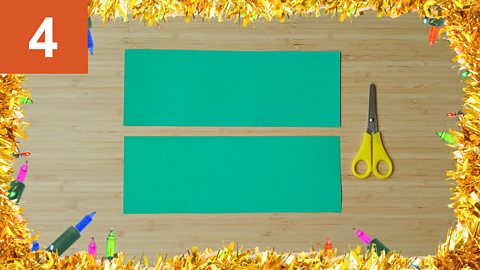
- Paper or card
- Scissors
- Tape *
*(glue sticks and pva also work but will take time to dry)
You might also need a pencil, rubber and glue or other materials to decorate your wreath.

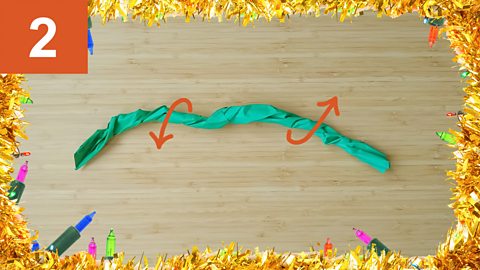
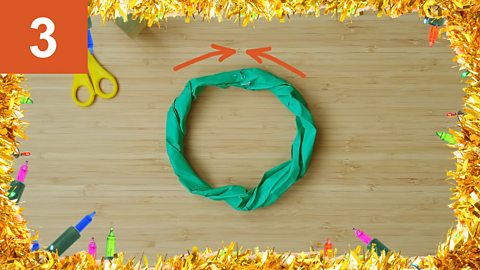
First: Make a hoop
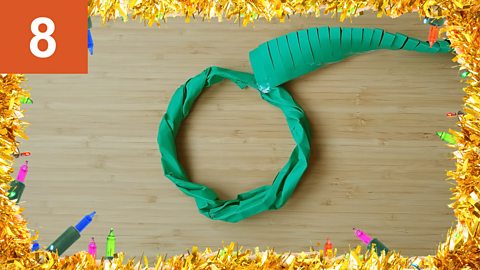
You will need this as a frame to wrap your wreath fringing around.
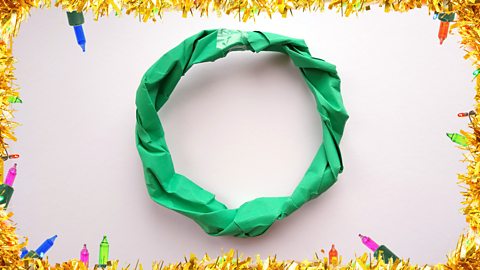
Image caption, Click on the arrows to follow our step-by-step instructions

1 of 4
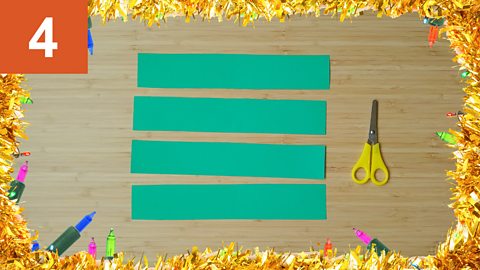
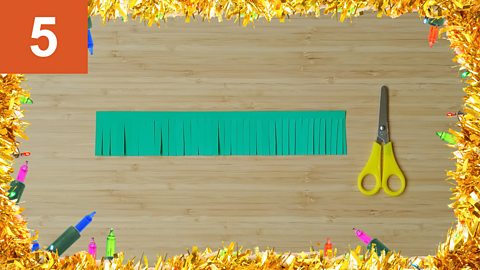
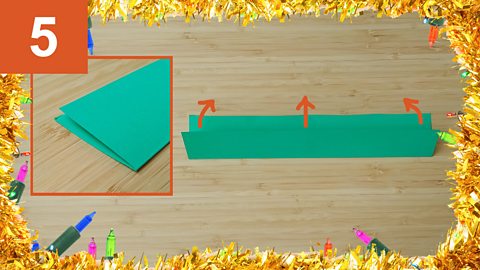
Next: Add some fringing
Once you’ve finished steps 1-3 above and made your hoop, choose your wreath style and follow the next steps.
Tip: The bristle wreath is simpler to make. The loopy wreath is a little fiddly at points so might be best for makers who want a challenge.
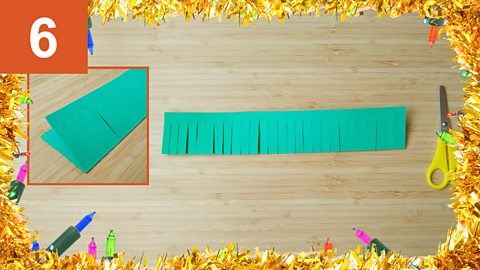
For more help with making fringes check out our fringing article.
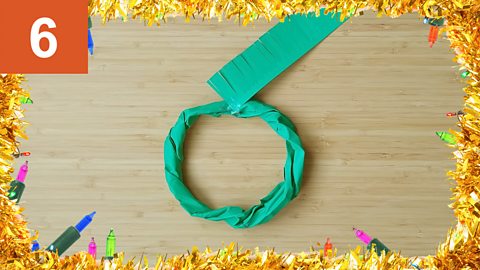
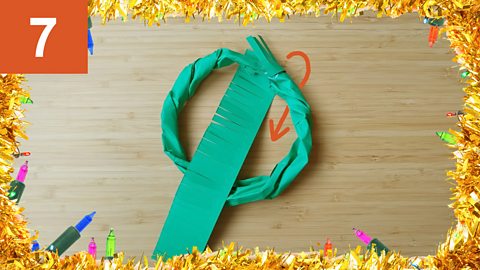
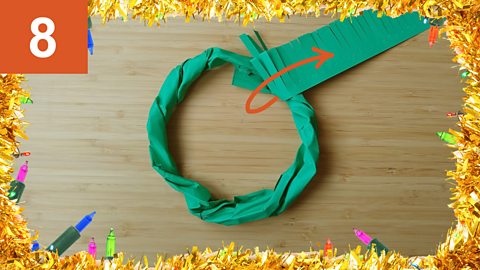
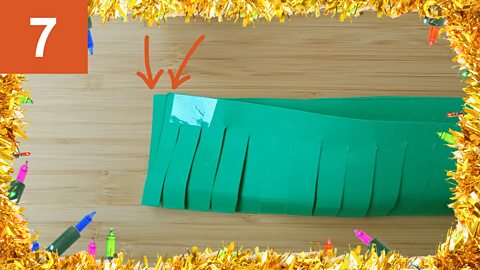
Bristle wreath
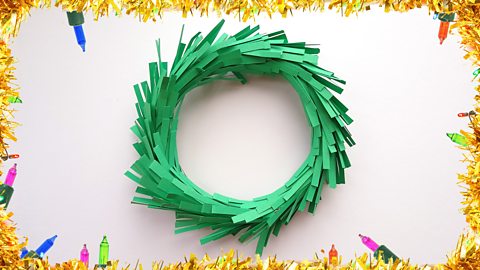
Image caption, Click on the arrows to follow our step-by-step instructions
1 of 8
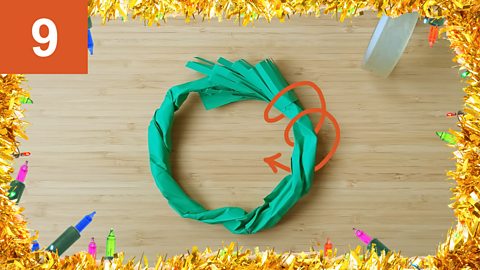
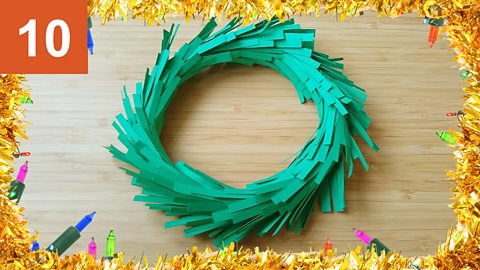
Loopy wreath
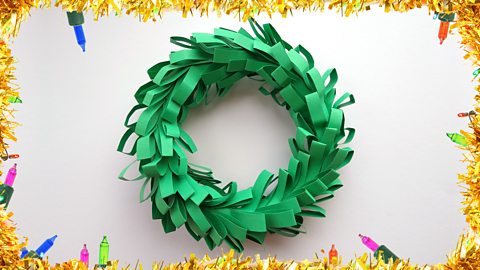
Image caption, Click on the arrows for our step-by-step instructions
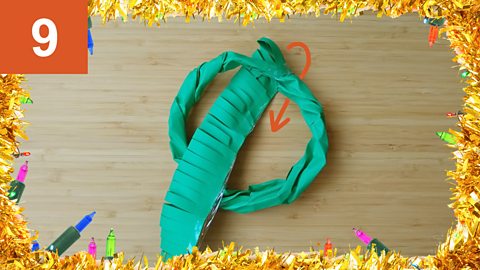
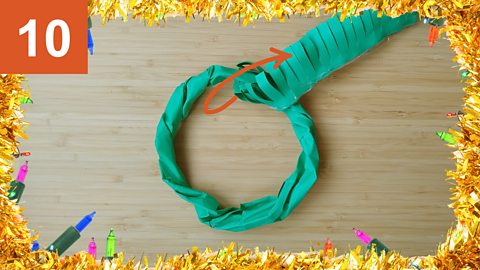

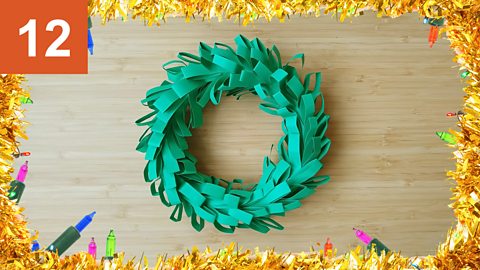
1 of 10
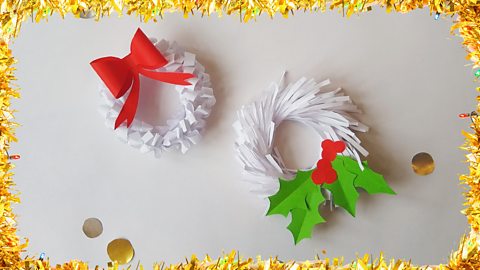
Finally: Decorate it
What do you want your wreath to look like?
Want to make a bow? Follow our instructions below.
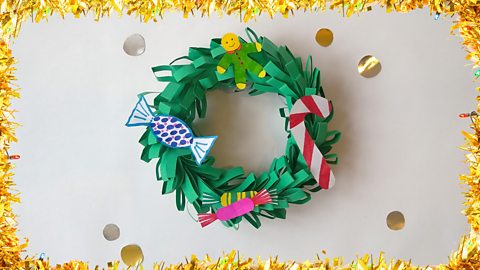
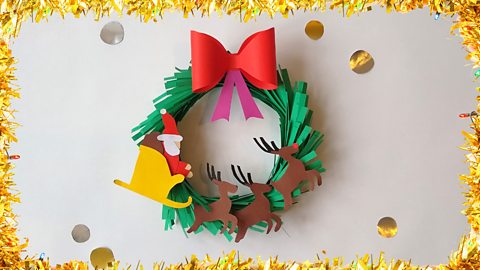
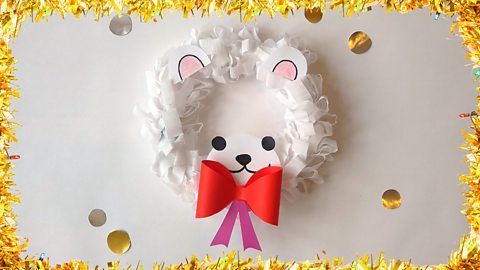
Need inspiration? Check out our artwork examples below for ideas.
Make a bow
Buzzing with creative energy? Add a festive bow to your wreath:
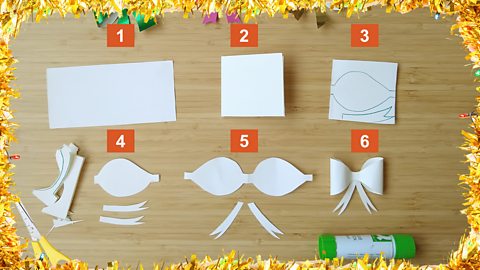
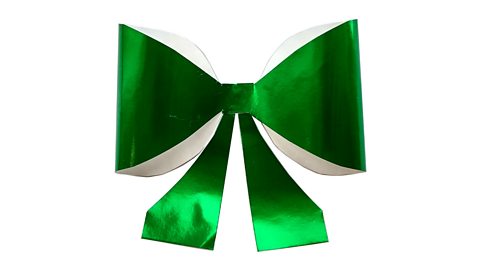
Cut your paper into a rectangular shape
Fold it in half
Draw an eye shape with two straight lines that connect it to both sides of the paper. Then draw a ribbon
Cut around the two shapes
Unfold your paper bow and lay out your two ribbons
Glue the ribbons to the middle of the bow. Fold the bow ends into the middle and glue them over the ribbons - You've finished!
Artwork examples


Further learning
There's more!
Follow the links to learn more about different types of fringing - and how you can use them to make impressive artwork:
More on Design activity
Find out more by working through a topic
- count11 of 11
- count1 of 11
- count2 of 11

- count3 of 11