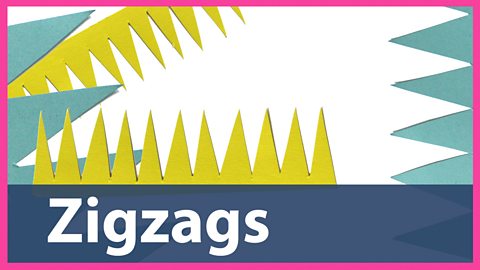
Learn how to cut zigzag fringes for your artwork
Zigzag fringes add sharp shapes and spiky texture to your artwork.
They are also pretty simple to make. Read on to give your artwork a zigzag boost!

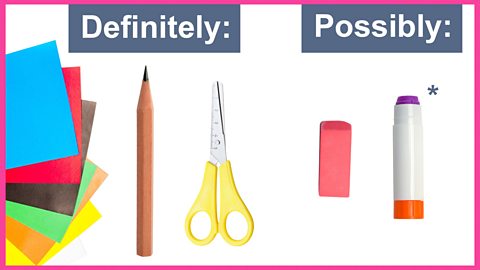
- Paper or card
- Pencil
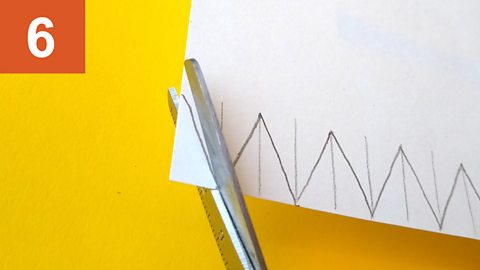
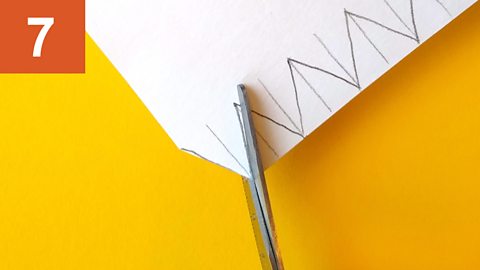
- Scissors
If you want to rub out your pencil marks you will need a rubber. When putting your piece together you might also need glue*.
*(sticky tape and pva glue can also work)

For a quick overview, check out the video: Make your own paper fringes
To work at your own pace, follow the slideshow instructions below:
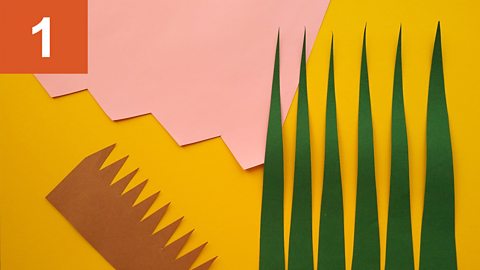
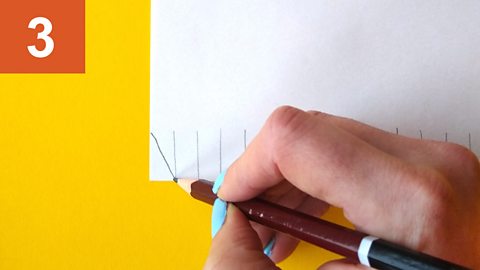
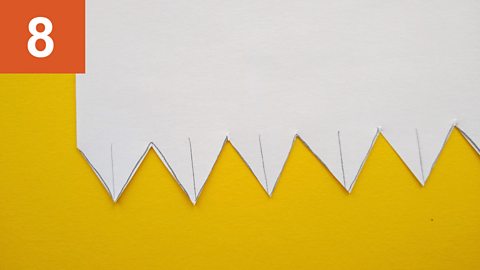
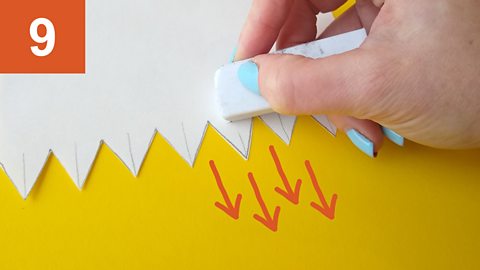
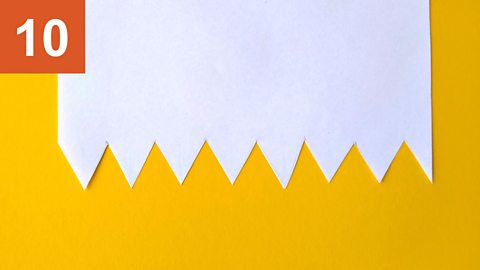
Image caption, Decide how long and wide a zigzag fringe you want and choose your paper
For example, use long, thin zigzags for grass, shorter points for a crown or chunkier zigzags for a fence shape.
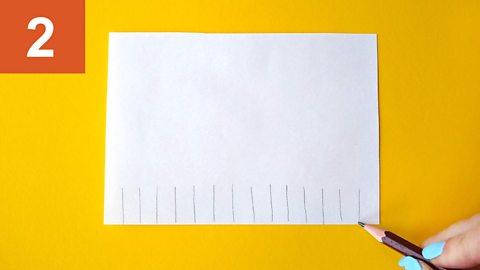

1 of 10
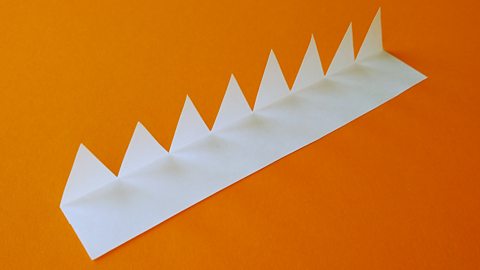
Zigzags in 3D work
Add tabs to your zigzags to make them stand up:
One long tab makes a straight zigzag fringe:
Lots of tabs makes a curvy zigzag wave fringe:

(For more help with making tabs check out our guide to making strip fringes.)
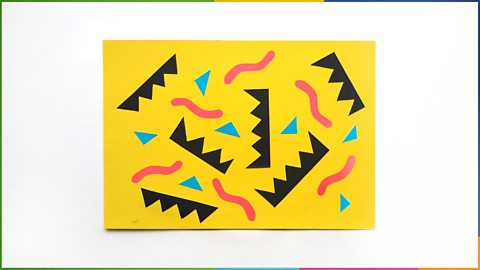
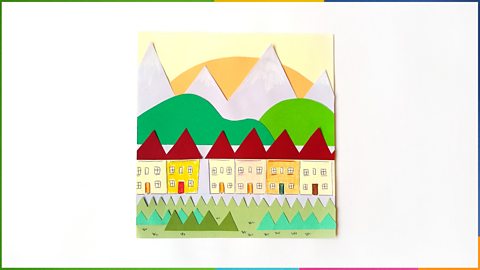
Artwork examples

Learning recap

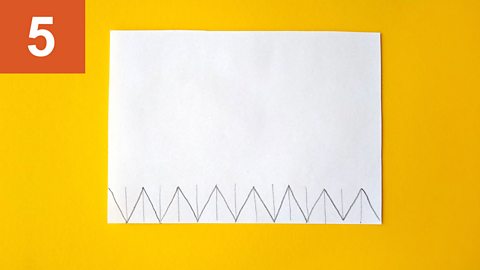
You can change the length and width of your zigzags to create different looks.
You can also add tabs to your zigzag fringe to build sturdy 3D forms that keep their shape.
(For more help with making tabs check out our guide to making strip fringes.)
More on Design activity
Find out more by working through a topic
- count4 of 11

- count5 of 11
- count6 of 11
- count7 of 11

