Pop riveting will permanently fix two pieces of thin material together. It can be used for thin materials like aluminium, acrylic or high impact polystyrene.
Before you get started, here are some things you're going to need:
Pop rivets and a pop riveter
A clamp
A drill and a variety of drill bits
Masking tape and a pencil
And some goggles
Start by lining up your materials with an overlap of at least 10mm and clamp them in place.
Make sure you place the layer you want to have the best finish on top.
Now, drill a hole the same diameter as your rivet through both layers of material.
Insert the rivet from the upper surface and make sure that the flange sits flush with the surface of your material.
Place the pin of the rivet into the pop-riveter, then squeeze the handles until the pin breaks off, leaving the compressed rivet to hold the materials together.
If you take a look at the back, you'll see there is a small tail on the rivet, which is why pop riveting is not good for anything that needs to sit flat against another material.
You should repeat this process as many times as you need for your materials to feel secure.
For the best finish try and ensure your rivets are evenly spaced.
Video summary
This short film explains the process of pop riveting, a simple method of permanently or semi-permanently fixing together two flat sheets of a material to form a more complex component, as an alternative to using adhesives.
Pop riveters are relatively cheap, standard tools which can be used across a large range of manufacturing projects in RMT, product design, graphic products, textiles and engineering. It can be a useful, all-round, general fixing method.
Teacher Notes
Points for discussion
- How pop riveting differs from ‘cold’ rivets, shaped and fitted with a hammer, snap tool, etc.
- Where might you choose rivets over, for example, nuts and bolts, adhesives, or screws?
- How might you remove pop rivets if you made a mistake or need to disassemble a product for recycling.
- The potential advantages of using a ‘permanent but removable’ fixing method in terms of recycling products.
- The onus on manufacturers to consider a ‘cradle to cradle’ life cycle for products.
- If you were using pop rivets to fix fabric to a more rigid material, how would you stop the rivets tearing the fabric?
Suggested activities
- Pop riveting can be used in a vast range of instances where fixing thin sheet materials or non-like materials will aid the design solution. Students could try using the technique with a range of materials.
- Thin sheets of metals (for example for boxes and trays), plastics and woods may be fixed this way, as well as fabrics and leather, flexible plys and even card or thick paper. Students could try fixing two different materials together.
Suitable for teaching design and technology (D&T) at KS3/4 in England, Wales and Northern Ireland, and 3rd and 4th level in Scotland.
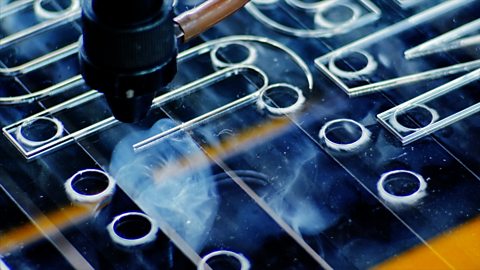
Laser cutting. video
This short film explains the process of laser cutting, which is when high-powered laser is used to cut, etch or engrave a material.
Block foam modelling. video
This short film explains the process of block foam modelling, which is for creating prototypes of products in the design phase.

Finishing wood. video
This short film explains the process of finishing wood to achieve a professional look.