Main content
Shining a light on lampshade making
Make! Craft Britain is coming to BBC Four on 9 June and Get Creative has spoken to the teachers that feature on the programme about their creative skills and passions.
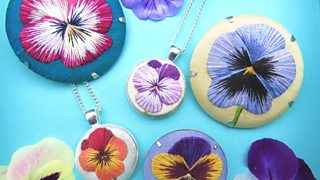
First up is Marna Lunt, a textiles artist, who has put together a step-by-step guide to how to make one of her lampshade designs.
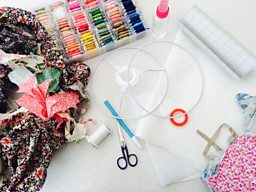
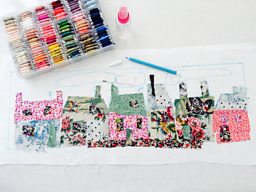
What you will need: a 20cm lampshade kit, scissors, embroidery thread, needle, fabric scraps, bondaweb, water soluble pen, water spray, plain white linen or cotton
Step one
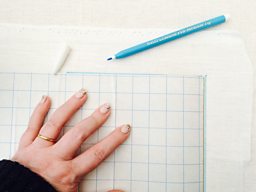
Draw round the plastic lining found in your lampshade kit with your water soluble pen, this will give you a guide line to draw your design inside so your design is in the right place when it comes to making the final piece
Step two
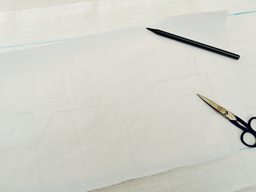
Draw out your design onto your bondaweb, keep to simple shapes
Step three
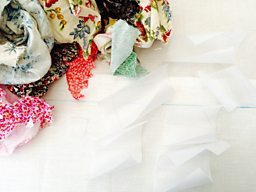
Iron your bondaweb shapes onto your fabric scraps
Step four
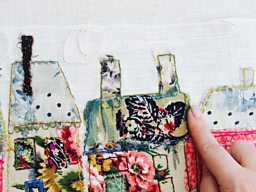
Now your fabric is stuck to your base white linen or cotton fabric within the guidelines you've marked yourself, use your water soluble pen to mark out the lines you want to stitch to create your design. Use back stitch and a mixture of colourful threads to create your stitched drawing
Step five
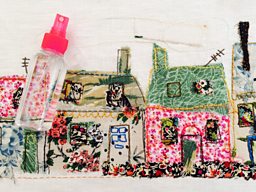
Once you've stitched all your details, lines and finished your fabric painting, use your water spray to spray away all the blue lines. This may take a few attempts to get all the blue to go away. Let it dry naturally and then iron the back of your work to get rid of all the creases. Now you're ready to roll your lampshade
Step six
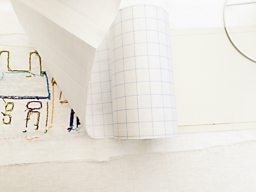
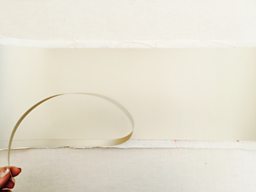
Turn your stitched artwork over so the back is facing up, position your plastic lining sticky side down onto your work and peel off the backing protective paper. Stick the lining to the back of your work, making sure all your work is positioned within the frame of the lining
Step seven
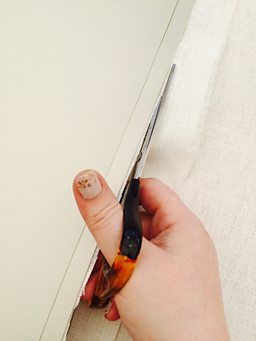
Now that your work is stuck to the fire retardant lining, cut around all the edges of the lining. Then turn your work over so the front is facing you and using your finger smooth the fabric down around all your stitching so there are no air bubbles showing and all your work is securely stuck to the lining
Step eight
Now turn your work over so the lining is facing you. Peel off the top and bottom sections of the plastic lining. Once these have been removed use the double sided tape that came in your kit and stick it on the fabric at the top and bottom of the lining. Then stick tape down one side of the lining and around the two hoops. Only stick tape to the edge of one side of the shade, this will glue the joining edges together
Step nine
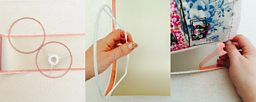
Remove the red plastic protective side of the tape from the hoops leaving the sticky tape on the hoops. Place the hoop with the circular light attachment on the bottom of your design with the fitting facing inwards, the plain hoop goes on the top. This is for a table light, if you want to make a ceiling light do the opposite. Now roll your hoops along the edge of the plastic lining all the way to the end of your lining. Start rolling from the edge without the tape towards the edge with the tape. When you get to the end, remove the tape from the edge and stick the two edges together with an overlap so the shade is now joined as a complete circle
Step ten
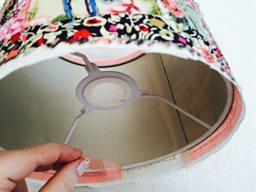
Remove the tape from the top and bottom of the fabric carefully and roll the fabric round the hoops using your hand in a claw shape, trying to tuck as much of the fabric around and underneath the hoop as possible. If you have strong long nails then they will help you
Step eleven
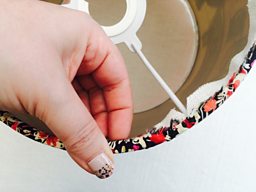
Use the triangular tool that came in your kit to push the remainder of the fabric underneath the hoop creating a nice clean & professional looking finish. Note: I have cut tiny triangles out of the fabric to fit around the three spokes of the frame, this helps finish the shade in a neater fashion
Step twelve
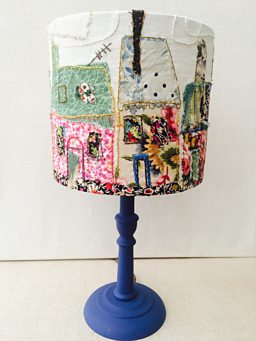
Now you have a complete shade that is perfect for your bedside table or a lovely arts and crafts inspired little reading nook
Meet the maker
![]()
All about Marna
Find out what inspires and excites our teacher and why you should pick up a needle

Make! Craft Britain
![]()
Celebrating the nation's crafters
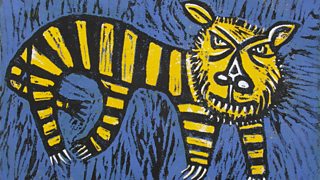
A menagerie of tigers, monsters, birds and fugglebugs
![]()
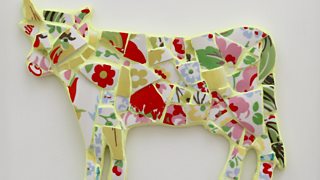
Makers gallery
Featuring mosaic cows, knitted birds and wire spiders
![]()
More makers
Fun fairs and sweet treats from the nation's crafters
More from Make! Craft Britain
![]()
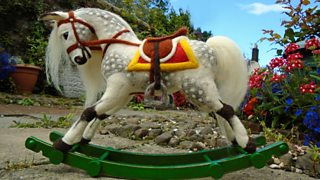
Never felt so good
Turning sheep fleece into sculptures
![]()
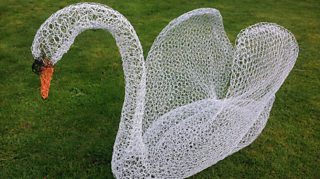
Crossed wires
How one person's rubbish became another person's art
![]()
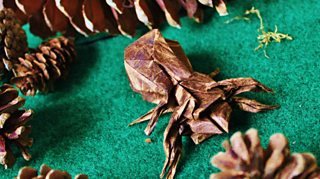
Above the fold
The health worker with a passion for origami
![]()
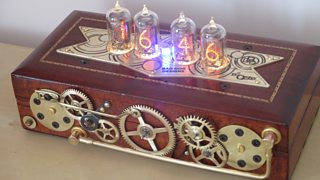
Clock this
Systems manager finds the time for a hobby