Lesson resources
This page contains all of the essential documents you will need to conduct the Grow investigation.
Scroll down for the how-to film, lesson plan, lesson resources, and student resources.
Don't forget, in addition, we have also prepared a handy classroom presentation you can use in class and other further resources to help you to deliver the investigation. Links to these can be found in the 'Where next?' section below.
Introduction
Watch the how-to film for a step-by-step guide on how to deliver the Grow investigation.
How to film for the Grow investigation
Female:
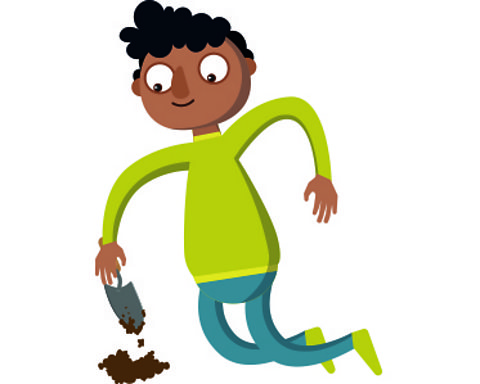
For Terrific Scientific's grow investigation, you'll be measuring the growth of your onions each day to discover which variables affect growth. For this investigation each group will need: people recording sheets, spring onion with long roots, one clear plastic tumbler, cling film, permanent marker pen, ruler, sticky tack, string, elastic band, scissors, access to tap water, syringe or smallmeasuring cylinder, thermometer. The class will need: trays, directional compasses.
Female:
Step one. Finding a home for your onions. To begin this two-week investigation, identify a sunny spot against a wall where your spring onions can be left and not disturbed. Avoid placing your onions near a sports pitch, playground, road or windy spot.
Female:
Step two. Setting up the onion growth chamber. In small groups, chose a name for your group, then take a plastic cup and write the group name around the top of it with a permanent marker pen. Carefully measure out 30 ml of water and add it to your cup. Take your time, so that you can be precise with your measurements. Mark the level of the water on the outside of the cup.Next, place your spring onion against a ruler. The point where the roots join the stem should be next to 0 cm. Using scissors, carefully cut the spring onion to 4.5 cm in length. Not including the roots. Next, turn the spring onion around and cut the roots to exactly 1.5 cm. Always take care when using scissors. Use a short length of string to measure the circumference of the spring onionbulb at its widest point. Record this figure on your sheet along with the date. Stand the trimmed spring onion in the water, roots down, leaning it against the side of the cup. If the onion does not stand upright, carefully use a piece of sticky tack to gently secure it to the side of the cup. Cover the cup with cling film and secure this in place with an elastic band. Now, wash your hands. Joinwith your class mates to secure all your cups to a shallow tray with sticky tack. This will prevent them from begin blown over and also allows them to be brought into your classroom easily for the daily measuring.
Female:
Step three. The great outdoors. Carefully carry your onions outside to your chosen sunny spot. Use a compass to identify which direction the onions are facing. Stand with your back against the wall with the compass flat in front of you. Record this on your sheet. Step four. Taking the daily measurements. On each school day during this two-week investigation, you'll need to bring inyour onions for their measurements. Try to do this at the same time each day if possible. Carefully remove the cling film from the cup and lay your onion down next to a ruler. You can gently straighten your spring onion if it's bent. Measure the longest point of the spring onion, not including the roots. It's important to be precise. All measurements must be taken to the nearestmillimetre. Record the length of your onion with the time you measured it on your sheet. Next, top the water up so that it is level with your original mark. Put your onion back in the cup. Replace the cling film and elastic band. And place your spring onions back outside in the same position. Then wash your hands.
Female:
Step five. Recording the weather. Every day at lunchtime use a thermometer to record the outside temperature where your onions are. If you do not have access to a thermometer, you can use a smart phone app instead. Note the temperature on your sheet.
Female:
Step six. How much has your onion grown? On the last day of the investigation, conduct your daily measurements as usual. As scientific evidence of your investigation, you can take a photograph of your spring onion lying flat on a sheet of white paper. Use a short length of string to measure the final circumference of your spring onion bulb at its widest point.Record this figure on your sheet along with the date. Next, calculate how much your spring onion grew in length each day. Can you see a pattern between the growth of your onions and the daily lunchtime temperature measured? Graphs are a good way of spotting patterns. Use the final lengths of each spring onion to calculate the average mean length of your class'sonions. How much did your spring onion's growth vary from the class's average? Next calculate the average mean lunchtime temperature for the two week period. This mean temperature will tell you whether your spring onions were grown in cool, mild or warm conditions.
Lesson plan
This is a quick-start two page lesson plan with an overview of activities, resources and timings. See the teacher resource for additional detail.
Teacher resource
This is the full teacher resource with detailed information on how to complete the investigation, including background information, starter activity and investigation instructions.
Pupil recording sheet
Use this recording sheet in conjunction with the teacher resource to help students record their spring onion measurements.
Grow investigation cross-curricular links
A downloadable resource to support the Grow investigation within other areas of the curriculum.