This process is used to make different products in a wide range of sizes.
For this example, we're making a small arm rest for a chair, but for larger items you'll need to take a slightly different approach.
Before we get started, you will need:
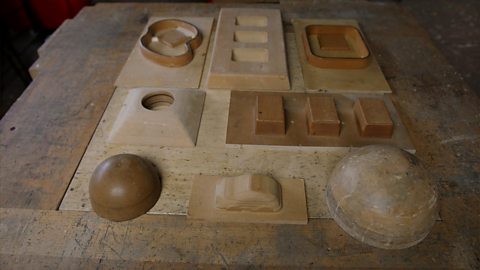
Your mould
Three pieces of flexible wood
Some PVA glue and brush
Some paper and some G-clamps
You should have your mould ready - so go and grab that if you haven't already got it.
To get started cut three pieces of 3mm thick wood. Plywood or aeroply will give you the best results, but you can also soak or steam your wood to make it more flexible if needed.
When stacked together, these will give you a finished product 9mm thick.
Remember, the more layers, the more rigid the shape will be, so have a think about how much give you want in your end product.
PVA glue should now be applied in a thin layer to each surface that will be in contact with another surface, keeping the layer of glue thin enough so that the grain of the wood is still visible.
You can use a brush, a spreader, or even a scrap piece of wood for this. In this example, you will need to apply the glue to both sides of piece two.
Stack the layers like a sandwich with piece two in the middle.
It's a good idea to place some paper or card between the mould and the outer laminates to prevent the component sticking to the mould.
If you do this, you can re-use the mould.
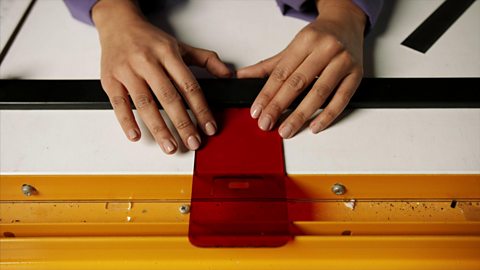
Now you're ready to clamp the two halves of the mould around the wood using G-clamps. Trigger clamps can help to hold it in place while you secure it.
Then leave it to dry.
Once it's dry, you can remove the laminated wood from your mould.
Now you'll need to cut, sand and finish so check out 'Explain this… How to finish wood' in this series for a step-by-step guide.
Video summary
This short film explains the process of laminating thin, flexible layers of wood to form a stiff, usable shape.
It gives the example of an arm rest, but the technique can easily be used for something like a kitchen spatula, a curved wooden housing for a boombox or other electronic device.
Teacher Notes
Points for discussion
Discuss the properties of materials and what allows them to be flexible.
How would you adapt this process for a much larger project, like a curved chair design or a skateboard deck?
How would you adapt the technique for small scale batch production, reusing a mould or jig to repeat designs or components?*
What types of commercially-available products are made using these types of technique?
How to you assess how to apply the correct amount of adhesive?
What are drying/curing times for PVA and other glues?
What are the limitations of these products? For example, what would you need to do to make a spatula waterproof?
Students could have a general discussion about wood finishing techniques.
How can flexible plywood be moulded around a tighter radius bend?
Discuss the limitations of only being able to bend shapes in one plane rather than creating compound curves.
Suggested activities
- Design and make a kitchen spatula or clay sculpting tool.
- Design and build a boombox case for a commercially-available speaker circuit.
- Research the designs of Charles and Ray Eames and design a scale piece of furniture using these lamination techniques.
- Create a stand for an LED lamp.
- At KS4 lamination can be used for a huge variety of design ideas, for example furniture elements, box housings, custom skateboards, etc.
Suitable for teaching design and technology (D&T) at KS3/4 in England, Wales and Northern Ireland, and 3rd and 4th Levels in Scotland.
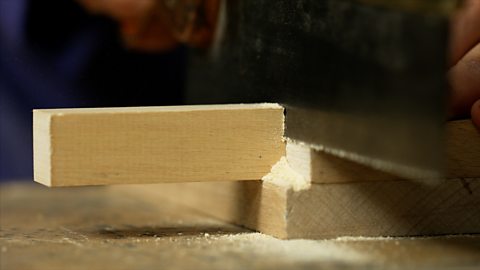
Marking and cutting a halving joint. video
This short film explains the process of creating a halving joint, which is used to fix together two pieces of wood.
Vacuum forming. video
This short film explains the process of vacuum forming, which is an easy way to make hollow plastic mouldings which can be used in a wide variety of RMT design projects.
Line bending. video
This short film explains the process of line bending, which is a technique used to make precise folds in plastic components.