Screws, nuts and bolts are very useful for fixing components together. But let's have a look at the various options there are, and how you can use them to the best effect.
Screws are used to fix wooden components together or for fixing components to wood.
A screw has two diameters: the diameter of the shank, the solid part, and the outside diameter, which is measured around the spiral flutes of the screw.
Start by clamping your two wooden pieces together and drill a pilot hole. The diameter of the pilot hole should be the same as, or just slightly smaller than, the solid shank of the screw.
Now, on the top surface, widen the pilot hole to make a clearance hole. The clearance hole should be the same diameter, or slightly larger than, the outside diameter of the screw.
If you are using a countersunk screw, like this one, you should now use a countersink bit in your drill to create a bevelled recess in the surface.
Try to judge the depth of this so that the surface of the screw sits flush with the surface of the wood.
Now, the wood is ready for you to screw the pieces together.
If you are using coach screws, pan headed screws or round headed screws, you might want to use a washer to spread the force from the screw and prevent damage to the top surface of your wood.
To fix together non-wooden materials like metal, plastic or glass you will need to use nuts and bolts.
The most common nut is called a hex nut, but there are two other options for you to choose from and each has its own advantages.
A smooth, rounded dome nut will give you the nicest finish.
While a nylock is best if it's important that your nut doesn't come undone. The nylon plastic insert grips the bolt tightly and prevents accidental loosening.
You can spread the load of both the nut and bolt by using washers.
In addition to your standard washer, you can choose from penny or mudwing washers, which have a large diameter to spread the load and cover oversized holes; or sprung washers which also protect against vibrations.
The most common style of bolt heads are: hex, round head, cap head or countersunk, and you should use the one you think looks best on your finished item.
Once you have made your selections, you're ready to drill the holes into your materials.
It's best to drill the hole the same size, or slightly larger than, the bolt size.
So, if you're using an M4 bolt, you'll need to drill a 4mm hole.
Now clamp your materials in place and drill the hole from the top surface down.
Now all that's left to do is slide in your bolt and the washer, and attach the nut.
Video summary
This short film explains how to use screws, nuts and bolts to fix components together.
Screws, nuts and bolts are very useful for fixing components together.
This film will take you thought the various options there are, and how you can use them to the best effect.
Teacher Notes
Points for discussion
- When might you use nuts and bolts instead of, for example, rivets or pop rivets?
- How might you create the thread for a bolt when fixing together two components, when nuts are not an option?
- Following on from this, how would you use taps and dies to create threaded components or threaded holes for assembling components?
- What are the differences between the different types of permanent and non-permanent fixings?
- Students could have a general discussion about standardisation, standard parts and the huge variety of nuts, bolts, bottle lids, locks, keys, etc.
Suggested activities
- Experiment with a range of materials and fixings and try various combinations to find out what might work best in a particular project.
- Or, introduce techniques as necessary during FPT projects.
- Play a version of Snap or Odd One Out using the various types of fixings (nuts, bolts, rivets, screws, machine screws, studding, etc).
Suitable for teaching design and technology (D&T) at KS3/KS4 in England, Wales and Northern Ireland, and 3rd/4th level in Scotland.
Finishing plastic. video
This short film explains the process of finishing plastic to achieve a professional look.
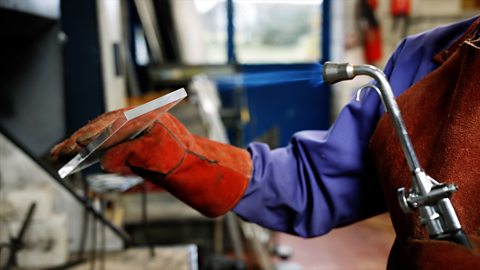
Finishing metal. video
This short film explains the process of finishing metal to achieve a professional look.
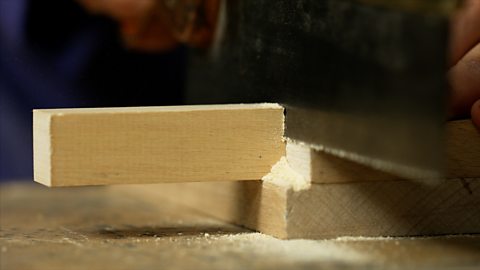
Marking and cutting a halving joint. video
This short film explains the process of creating a halving joint, which is used to fix together two pieces of wood.